Ever since I made my blog with Jekyll, I loved writing in markdown. But I confess that the whole process was very manual and sometimes ideas for articles quickly disappeared just by thinking about the entire flow and strategy needed to publish a simple post. Until yesterday, I was using my blog with Jekyll with the Minima theme, which is Jekyll’s base theme. It’s relatively customizable and, for a blog, it’s pretty, in addition to having many features since it’s a theme made by a large community.
During this migration process that I’ve been planning for a while, I discovered Netlify CMS, as I described in my previous post (2022: New Year, Big Changes). For Jekyll, it would already be very useful! It’s a tip for those interested in facilitating the process of creating posts with Jekyll. But I decided to go further, change even more and learn something even newer.
One day, I saw an online store, Marin Brasil, using a technology that made it very fast. It’s made in VTEX, but the work of the team that developed it was really fantastic and goes far beyond the platform. It reached almost 99 performance points on Web.dev. I was amazed. I researched a bit more to understand what technology was being used to make it that way and, surprisingly, it was Gatsby!
Since then, I’ve been wanting to learn Gatsby but didn’t have time because my job at Codeby is full time. However, on January 26, 2022, I went on vacation (I had surgery so they’re not exactly vacations haha). I ended up being idle at home and saw a great opportunity to study something.
Design
First, I used Adobe XD to plan what I was going to do (sorry Figma folks, it’s what I know hehe). I wanted to do the project really from scratch.
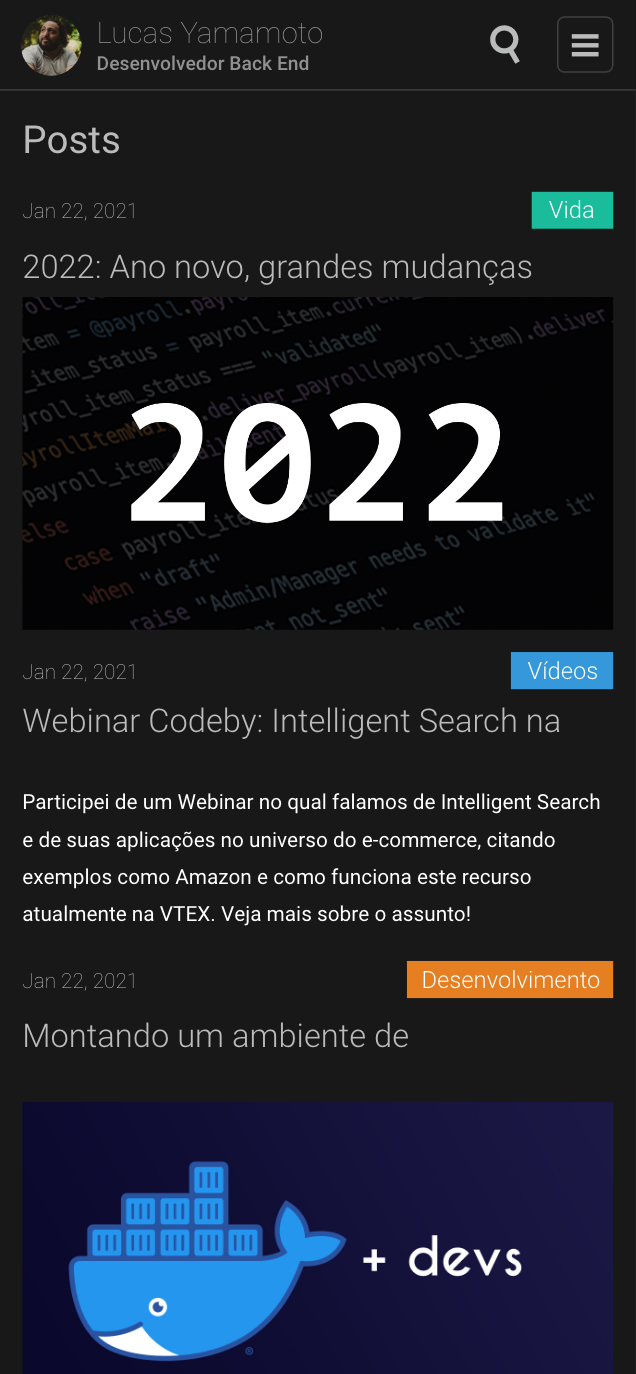
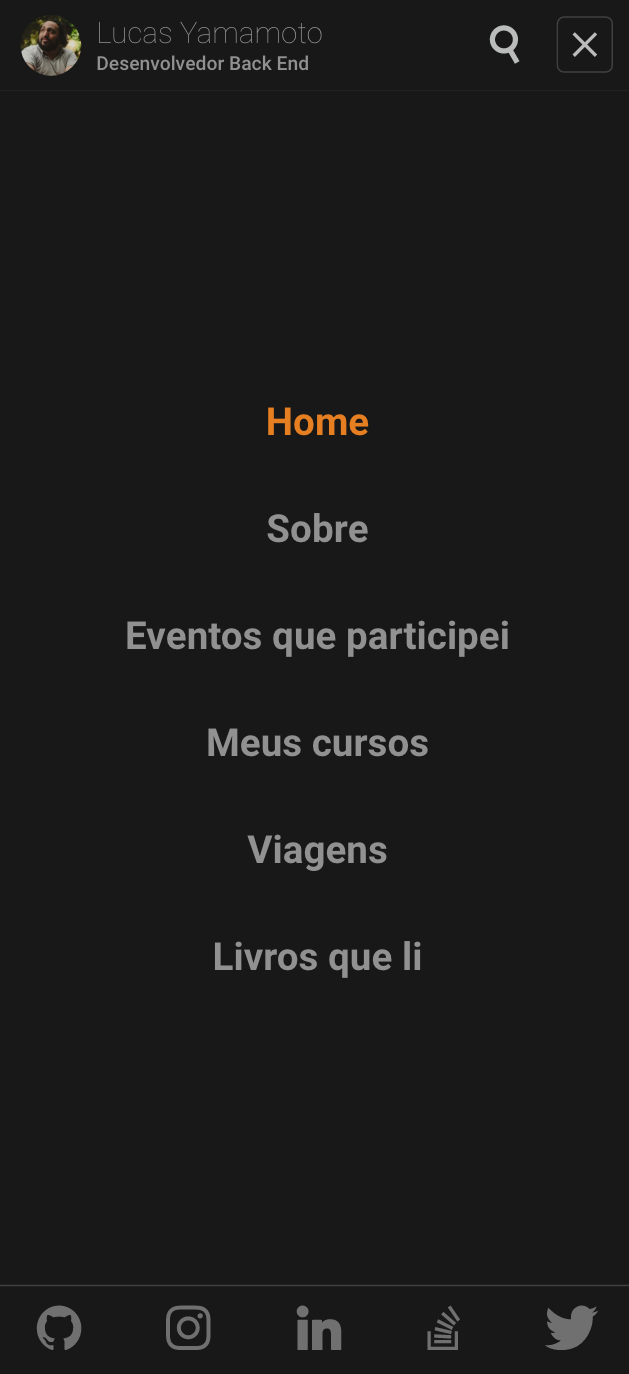
This was the initial design:
Home
Menu
Search
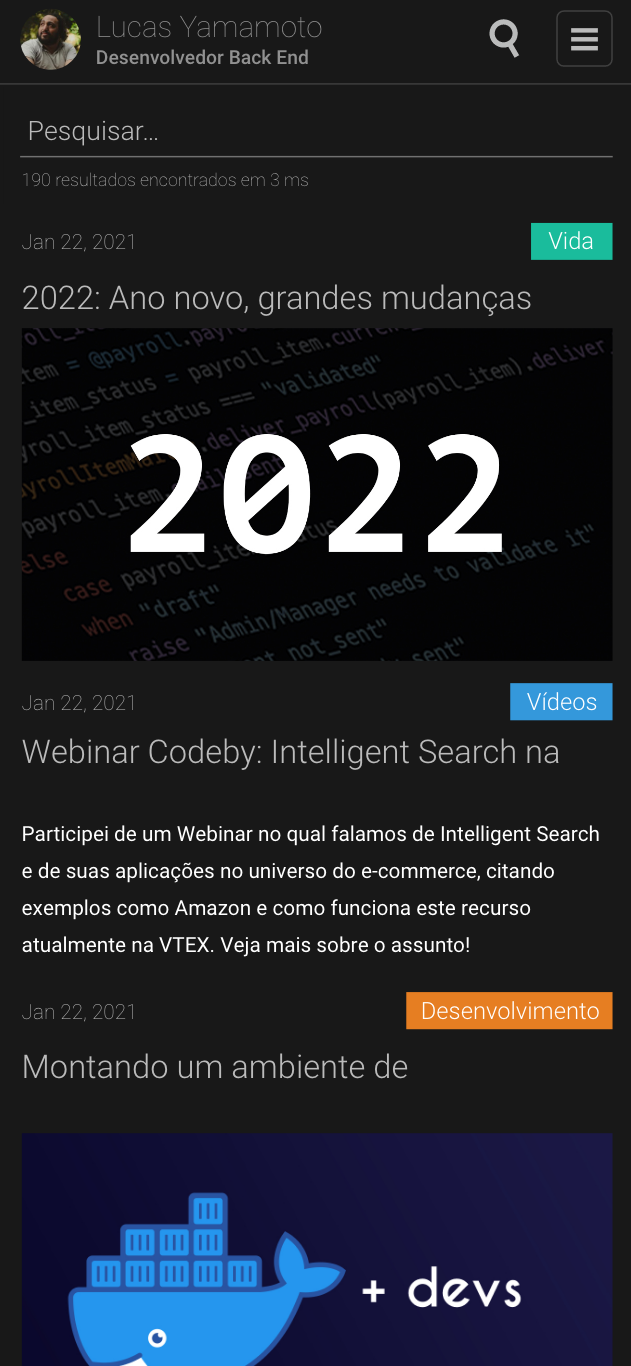
During development, some things changed, like some colors and some icons I got from styled icons. I planned everything, I have the XD file that I will share here soon.
The idea here was to make it similar to the Minima theme from Jekyll, changing very specific things like the colored categories, the search, the menu, and the dark mode (which is not in the design).
Development
To develop the blog, I watched a very good course by Willian Justen, which is “Gatsby: Create a PWA site with React, GraphQL, and Netlify CMS”.
Features and technologies
Dark Mode
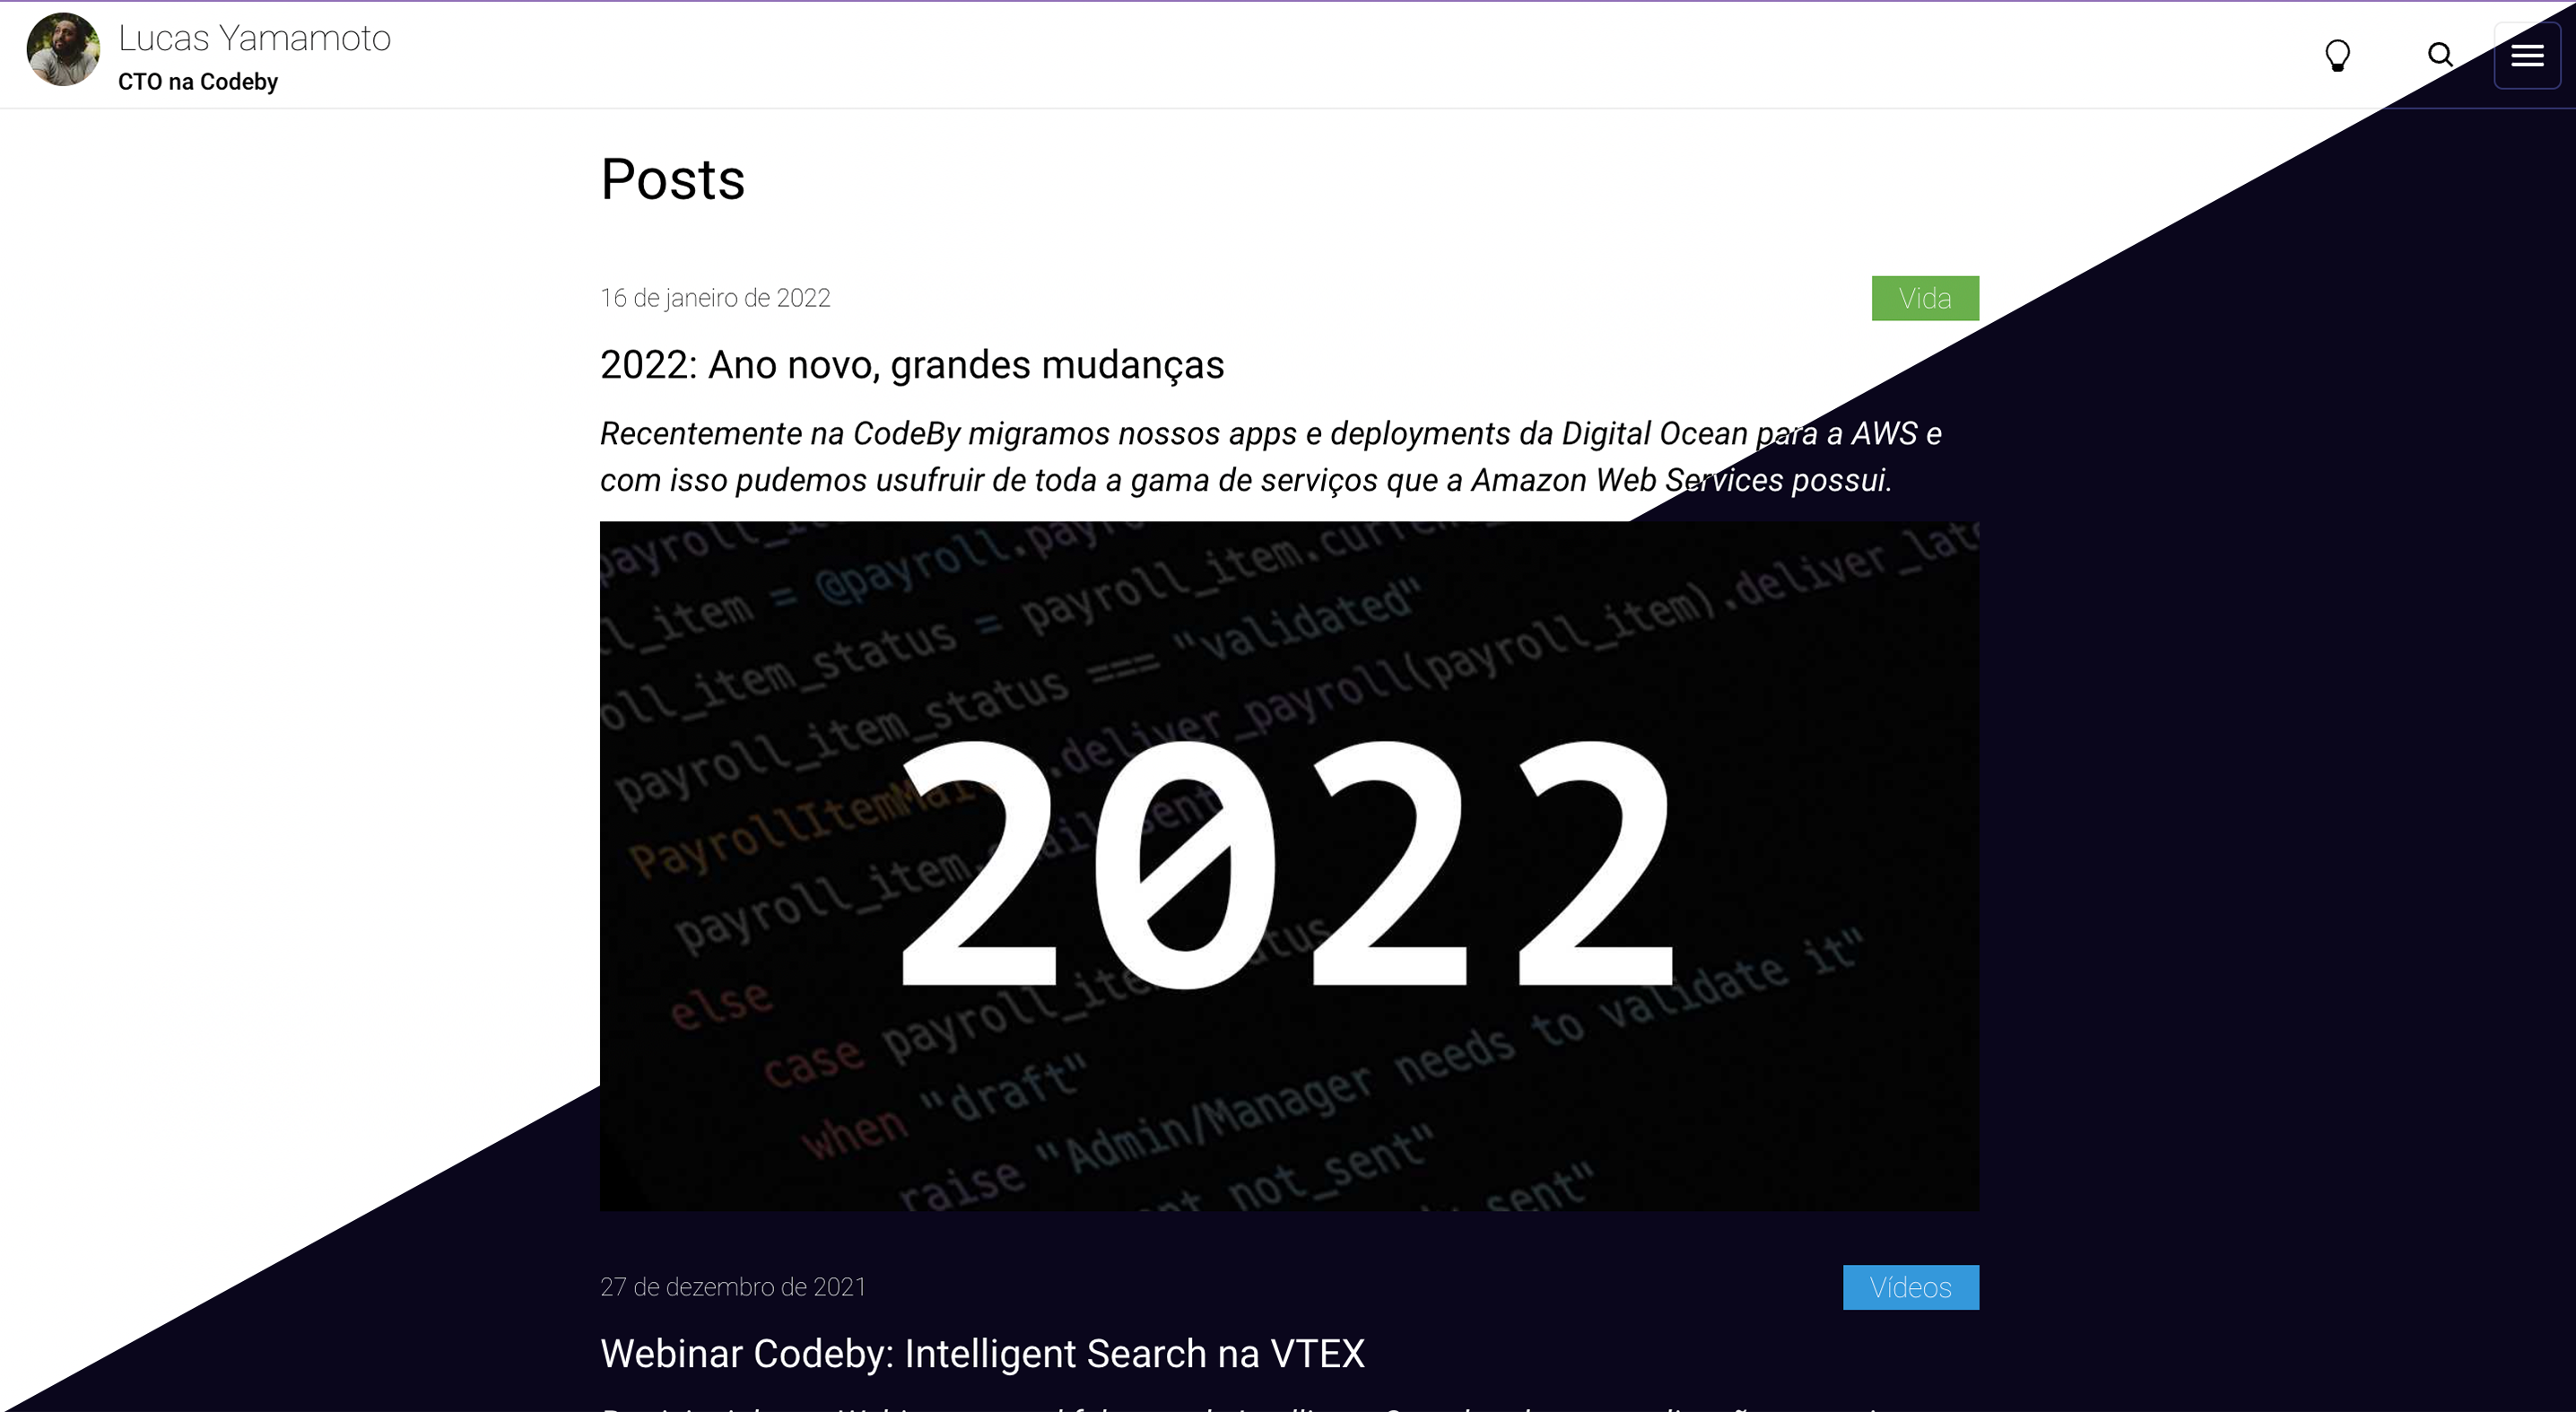
I’ll make a post explaining how the dark mode was done. I had seen this technique in another article from CSS Tricks, in addition to having seen it in the course I mentioned earlier. It basically consists of defining some CSS variables for it and through two CSS classes (light, dark) placed on the body, we can easily make the change with JavaScript. It works very well and is supported in almost all modern browsers according to Can I Use.
Algolia

Algolia is an excellent tool for search. Basically, you send your posts through an API and when consuming it on the frontend, in addition to extremely fast indexing, some features like spelling check, the instant search itself which is what I use on the blog, make the tool essential for small, medium, or large blogs or websites. Oh, the free plan is also quite generous, you know?
Netlify CMS
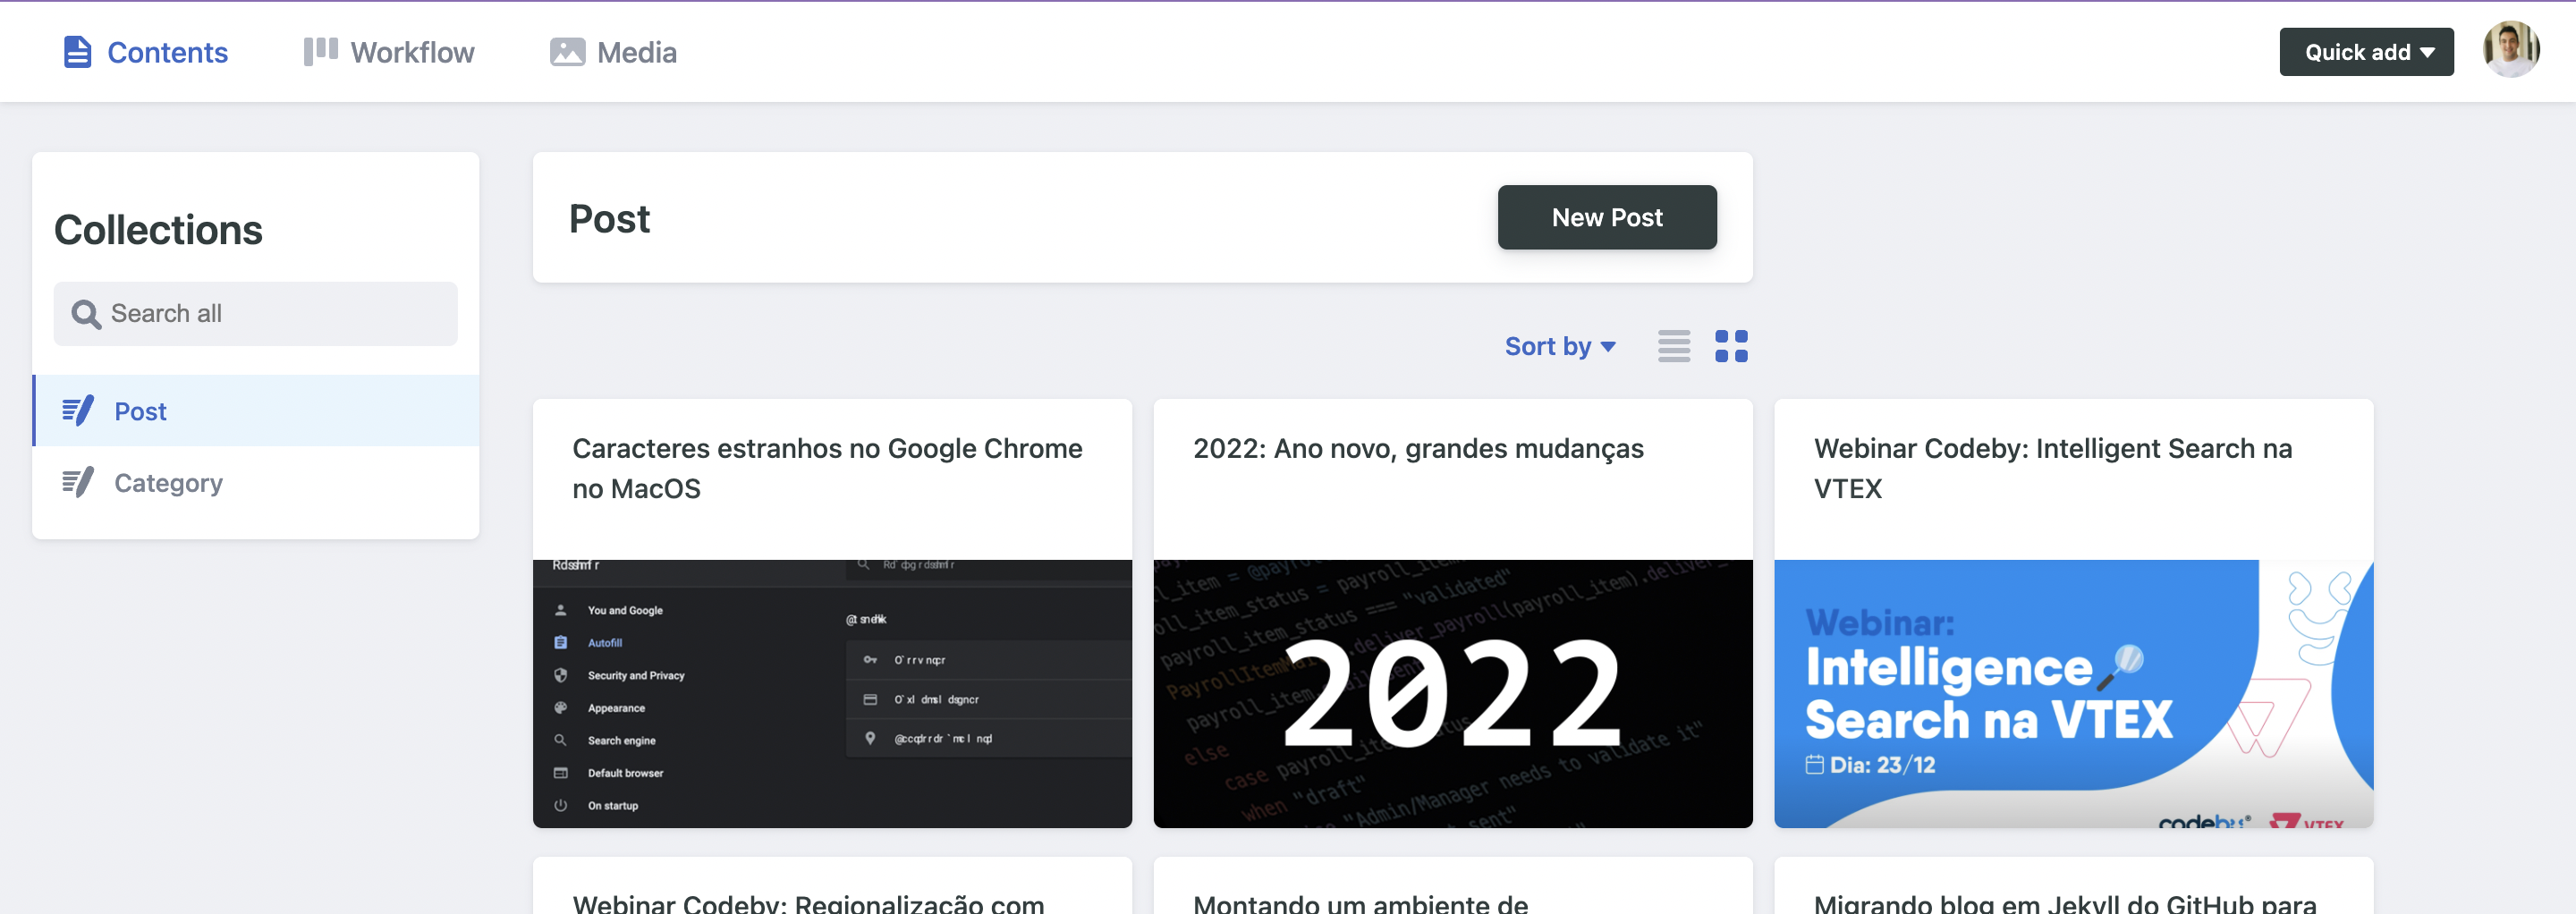
Soon I want to make a more detailed post about Netlify CMS and how I implemented its features in the blog. But this is what it looks like. It is open source, and automates the process of opening a Pull Request in the repository to create a new file with markdown and make the commit, in addition to facilitating the upload of images in the same way. The process of writing a post becomes much less burdensome and quite user-friendly.
Gatsby
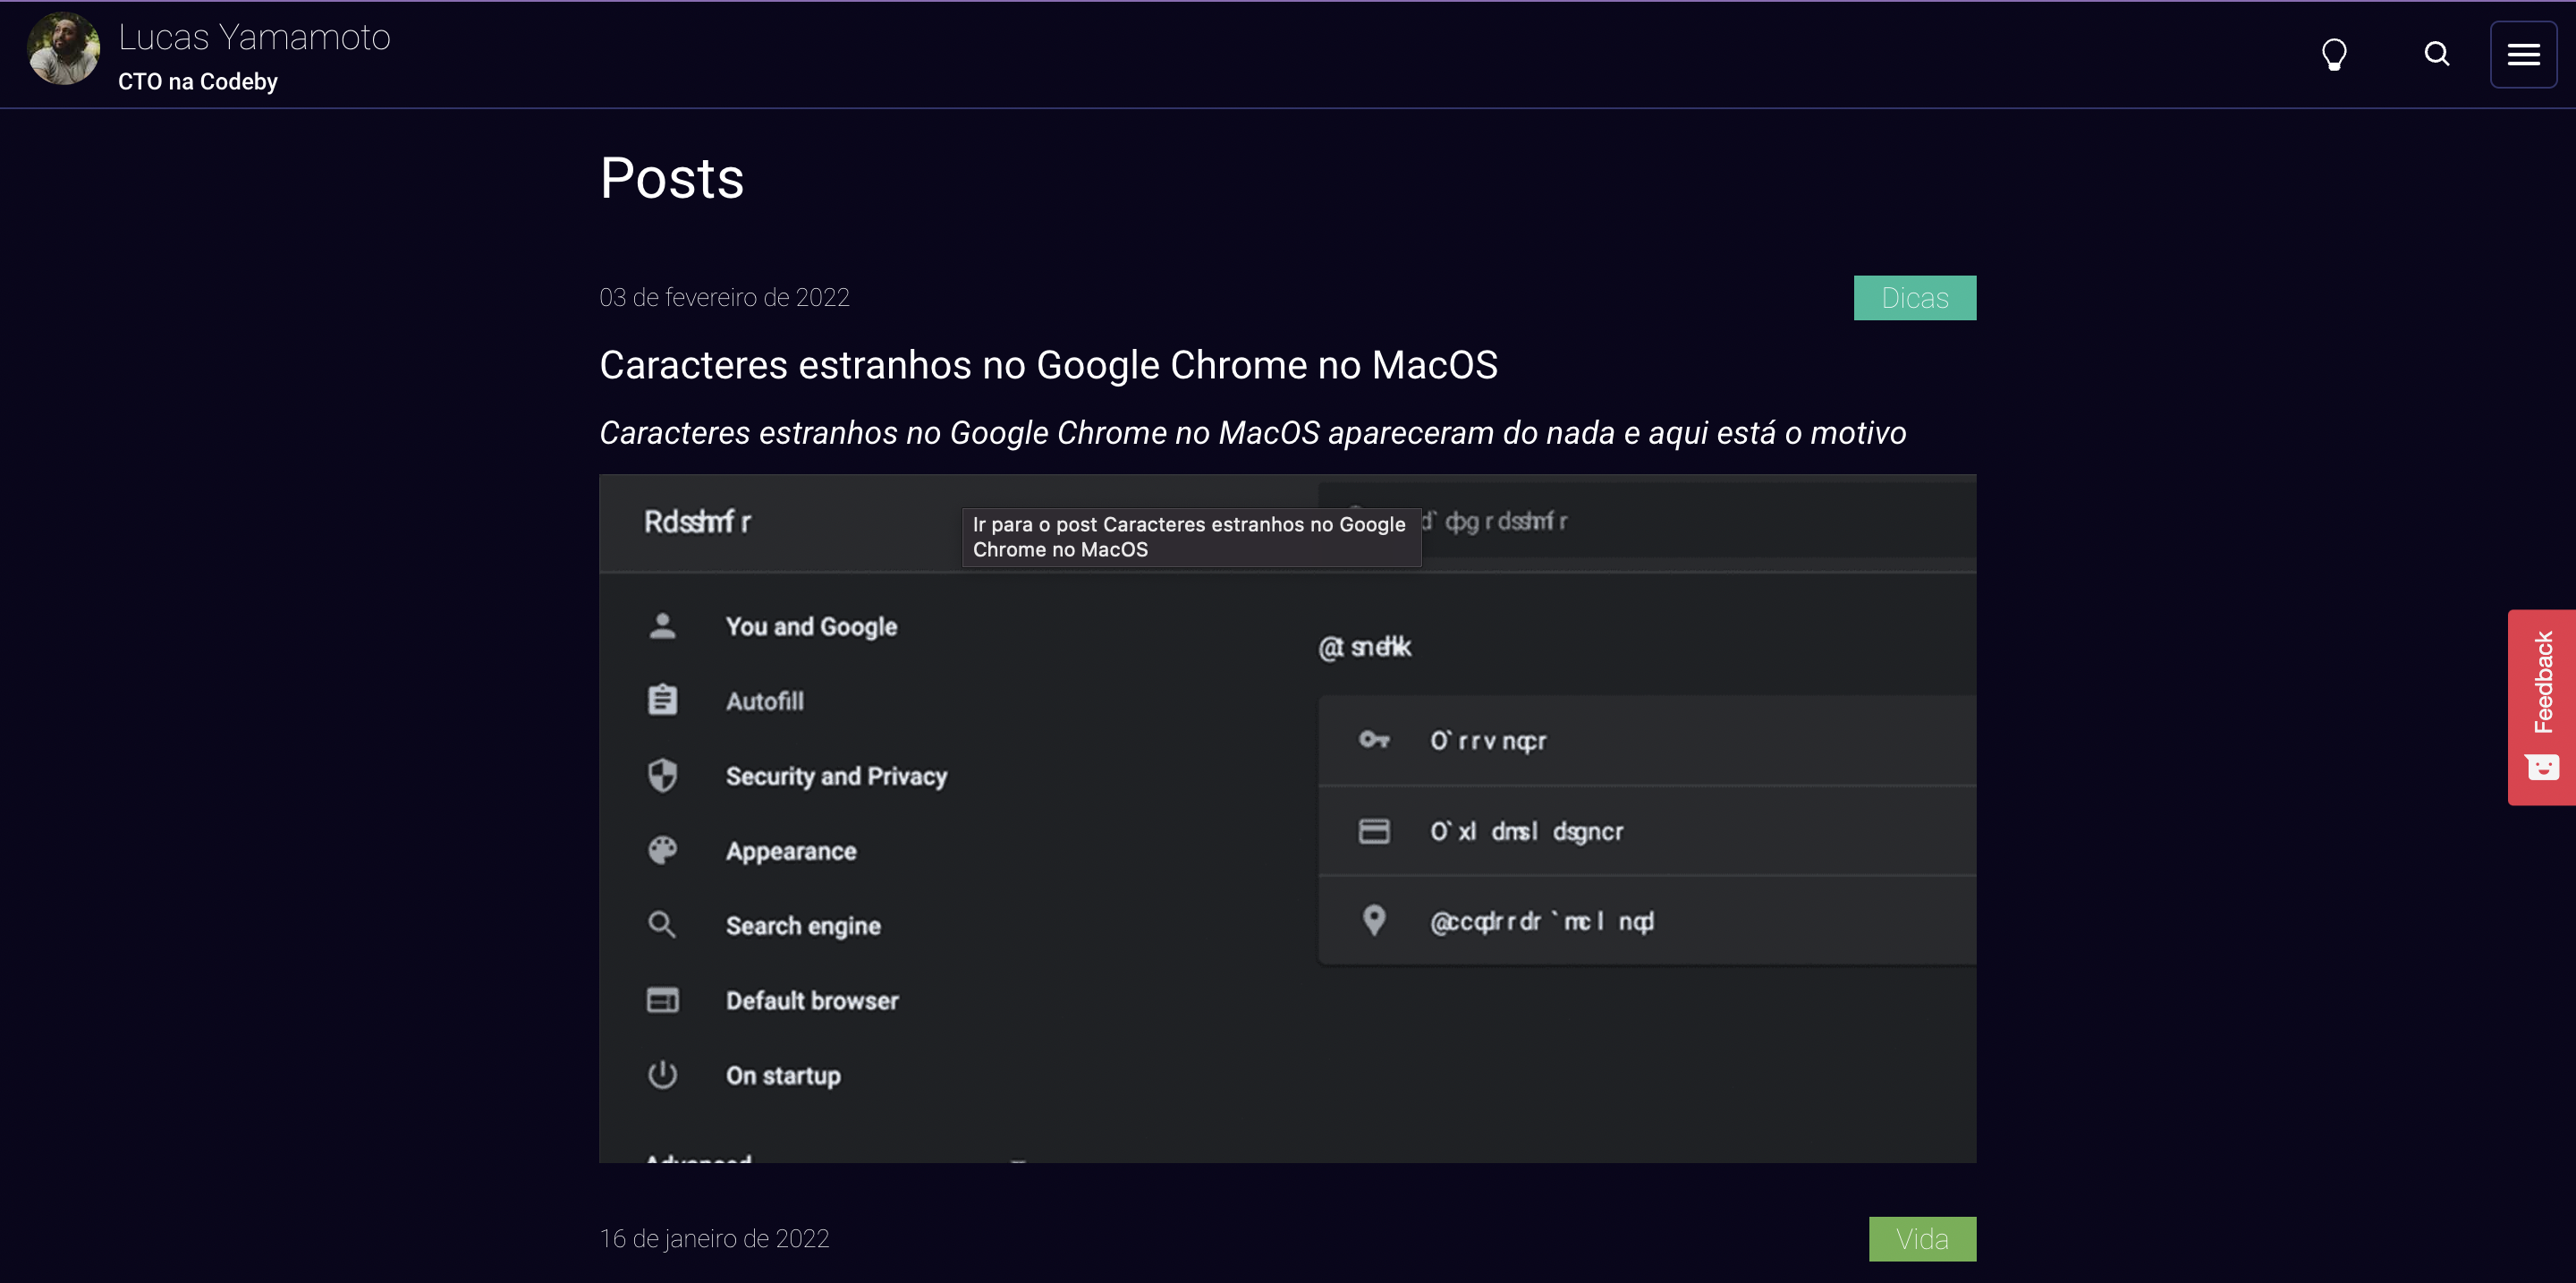
In short, the whole site was made with Gatsby. It is an incredible technology used to generate static sites with React, with the main focus on performance, but by generating static files, it makes the frontend not become insecure and not create gaps for invasions. It is really popular in the market and the community has made hundreds of thousands of plugins to meet any needs that we as devs have already felt.
And the old URLs?
If you look closely, I migrated the format of the URLs.
Before it was like this:
https://www.lucasyamamoto.com/devops/2020/05/23/migrando-blog-em-jekyll-do-github-para-aws.html
Now it’s like this:
https://www.lucasyamamoto.com/migrando-blog-em-jekyll-do-github-para-aws/
As I only had 8 posts, I ended up doing the process manually, but I could have written a script for it.
---
redirect_from:
  - /dicas/2018/06/21/7-dicas-para-a-integracao-perfeita.html
title: "7 tips for perfect integration"
date: 2018-06-21 18:55:41
category: tips
thumbnail: /assets/uploads/integracoes.jpg
description: Nowadays, many companies

 that make their own website to enter the web decide not to give up their ERP.
color: "#1abc9c"
---
This section of an article is the front matter. In it, you put metadata of the article like title, date, category, thumbnail, etc. With the help of a plugin called gatsby-redirect-from, you put the list of desired URLs from where users will come from, the source URLs, in an attribute called redirect_from, and through that, I was able to achieve my goal of redirecting old traffic to this new slug.
Furthermore, as in Netlify CMS you declare which attributes you want to fill through the panel, I also included redirect_from in that list.
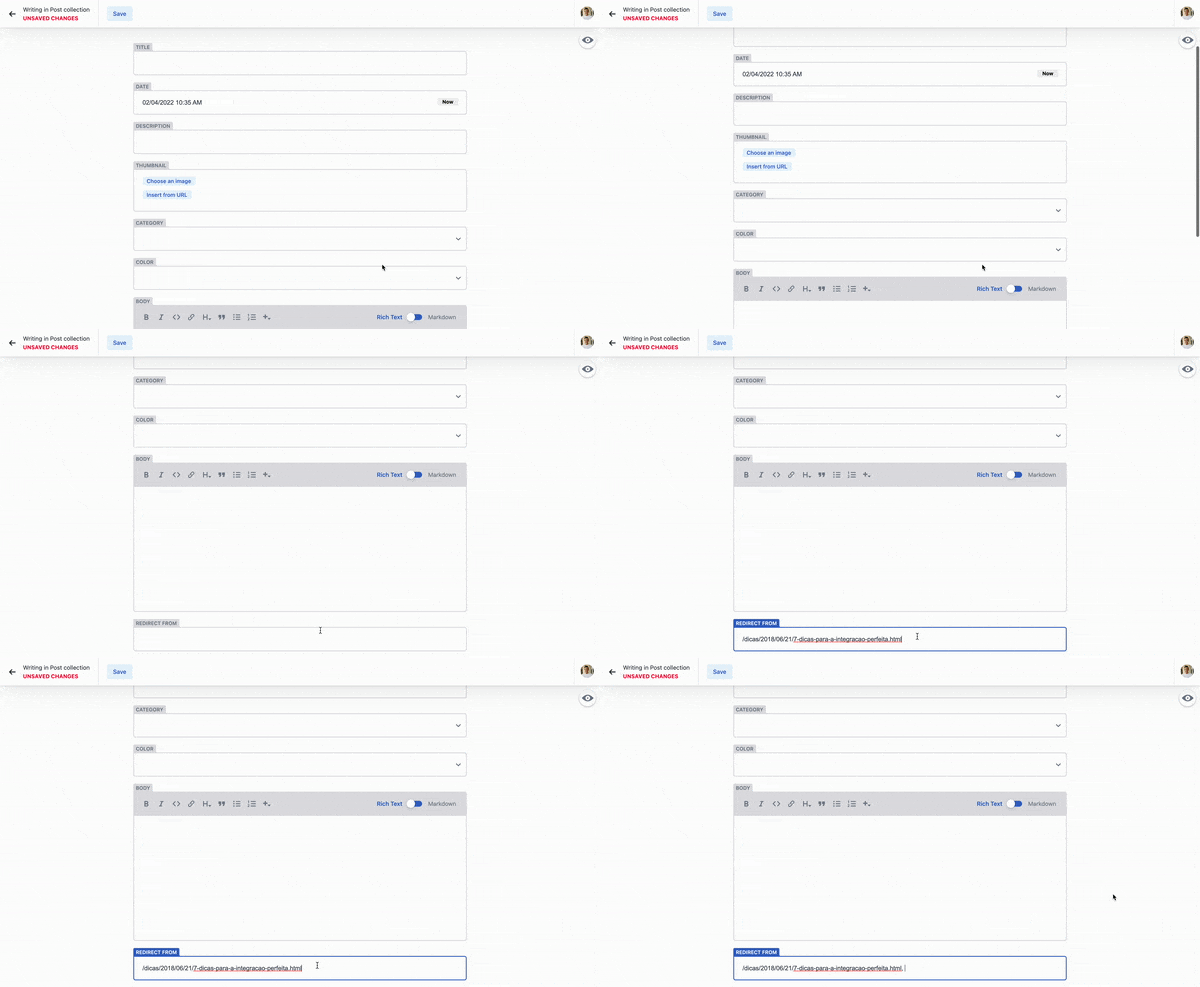
To make redirect_from work, a tip if you use the plugin gatsby-remark-relative-images: basically it will convert all relative URLs in your front matter to the images generated with Gatsby’s optimization. The problem was that it was recognizing redirect_from as an image, for having a relative URL, and consequently was causing an error in the build. The only thing I needed to do was add redirect_from to the exclude attribute in the plugin settings within my gatsby-config.js:
{
  resolve: `gatsby-remark-relative-images`,
  options: {
    name: "uploads",
    staticFolderName: 'static',
    include: ['thumbnail'],
    exclude: ['redirect_from'],
  }
}
I even made it redundant as I put thumbnail within include and redirect_from in exclude. In the end, it worked perfectly. It’s just a reminder in case I want to add or exclude fields to be processed by this plugin.
Going Live
Netlify CMS was made by Netlify, which makes the process of deploying the entire blog quite automated, as Netlify has native support for Gatsby, just needing to do the OAuth login with GitHub to connect the repository in Netlify itself. Oh, Netlify is also free, having some paid plans.
The only point of attention I had to have was regarding the CMS. I was receiving an error when trying to log in with GitHub in the CMS. Just following the steps according to the link below to configure the CMS correctly was enough.
https://docs.netlify.com/visitor-access/oauth-provider-tokens/#using-an-authentication-provider
And that’s it!
It was a very good learning process during the development of this blog. Gatsby is amazing and quite customizable. I plan to add other collections inside my Netlify CMS to take the focus just off Posts.
Comments