I’ve been a while without posting on my blog, but as I’m seeking AWS certification, and decided to use AWS wherever I can, including my blog!
Today, I want to migrate my Jekyll blog to AWS, more specifically, to S3.
As you may have noticed, at the time of writing this post, my blog is hosted on GitHub Pages, which has its benefits, such as free hosting, but eventually brings some downsides like the fact that my repository is public for anyone to copy the code. Of course, I don’t have any sensitive data in this repository, since all posts are public, but in the future, I intend to transform this blog into something bigger, with a more planned architecture, containing more services and components.
Enough stalling, let’s get to it!
Creating the Bucket in S3
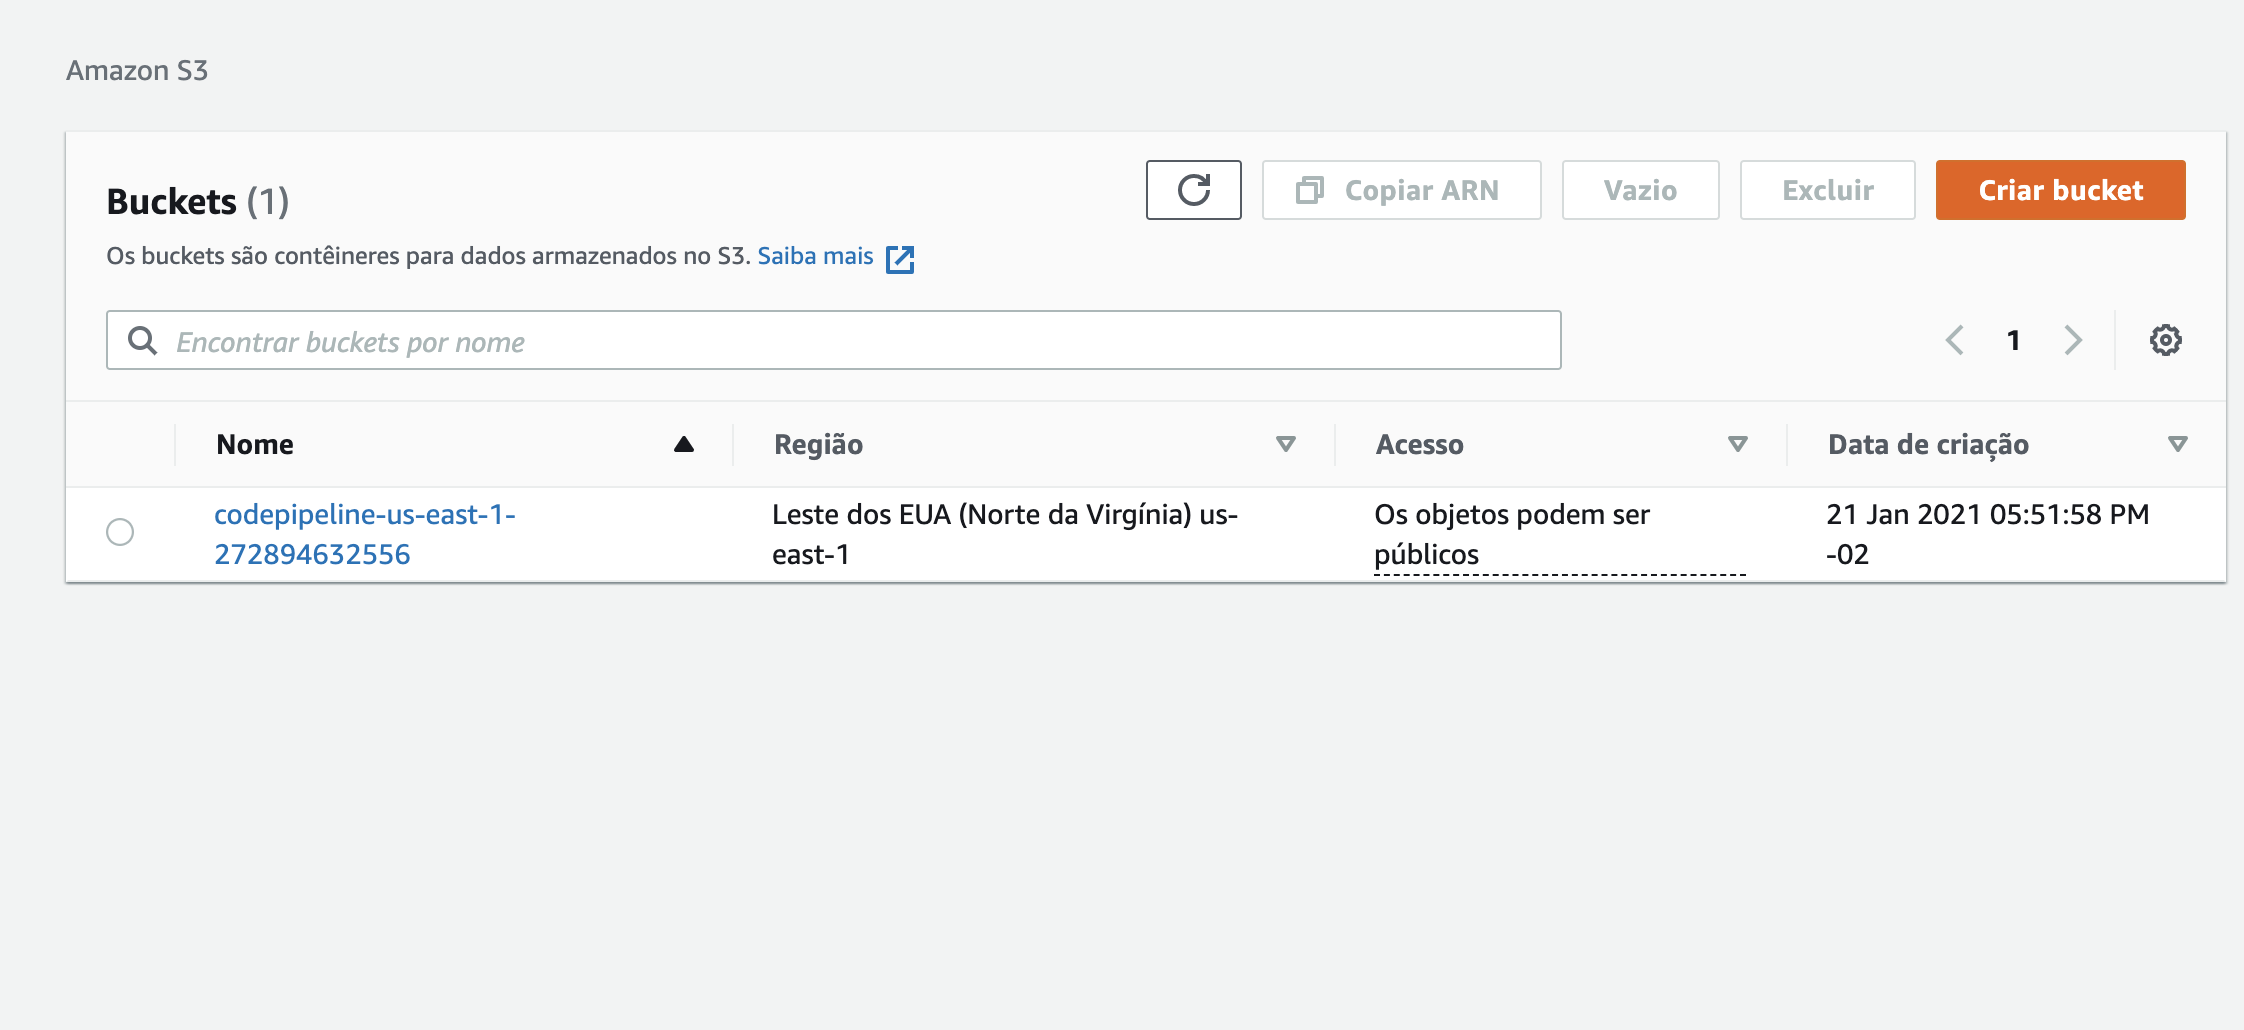
To host the blog, we need to use S3, and therefore, we need a bucket where we’ll store the static data generated by Jekyll.
In the Amazon console, access S3 and click on “Create bucket”
In this section, fill in the information for your new bucket
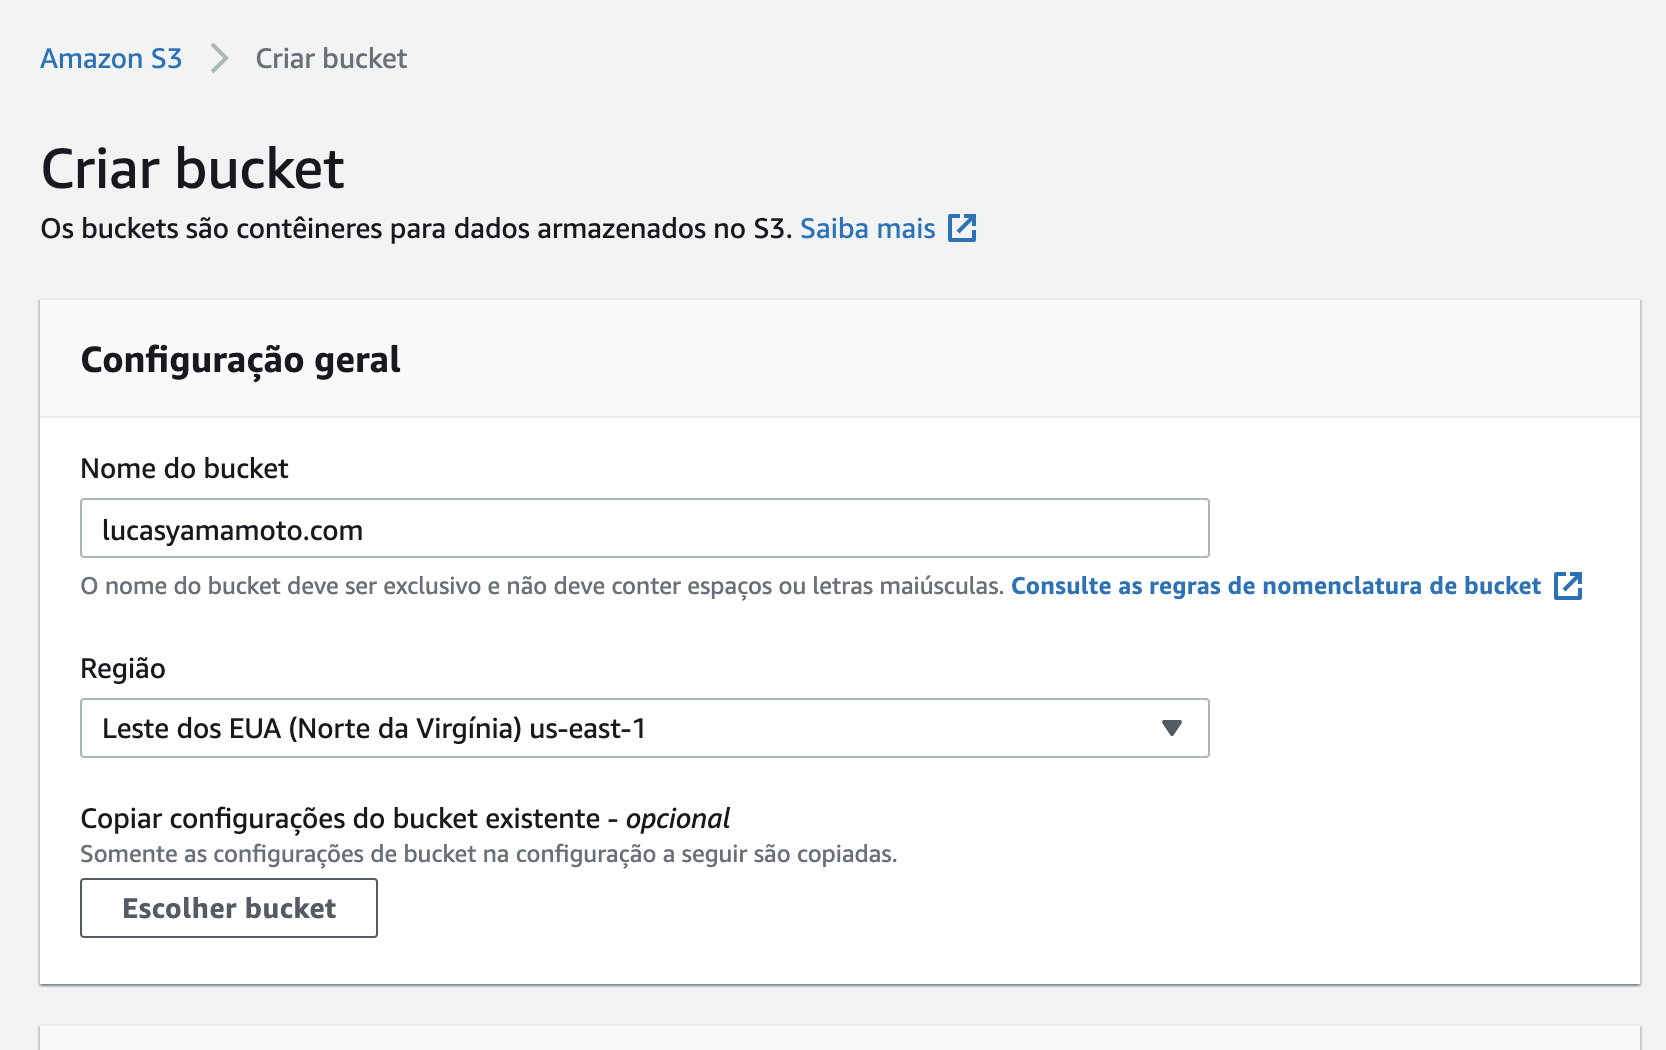
For the bucket name, I’ll use “lucasyamamoto.com”, since this name must be unique in the entire S3. And I’ll keep it in us-east-1, as it’s the cheapest region.
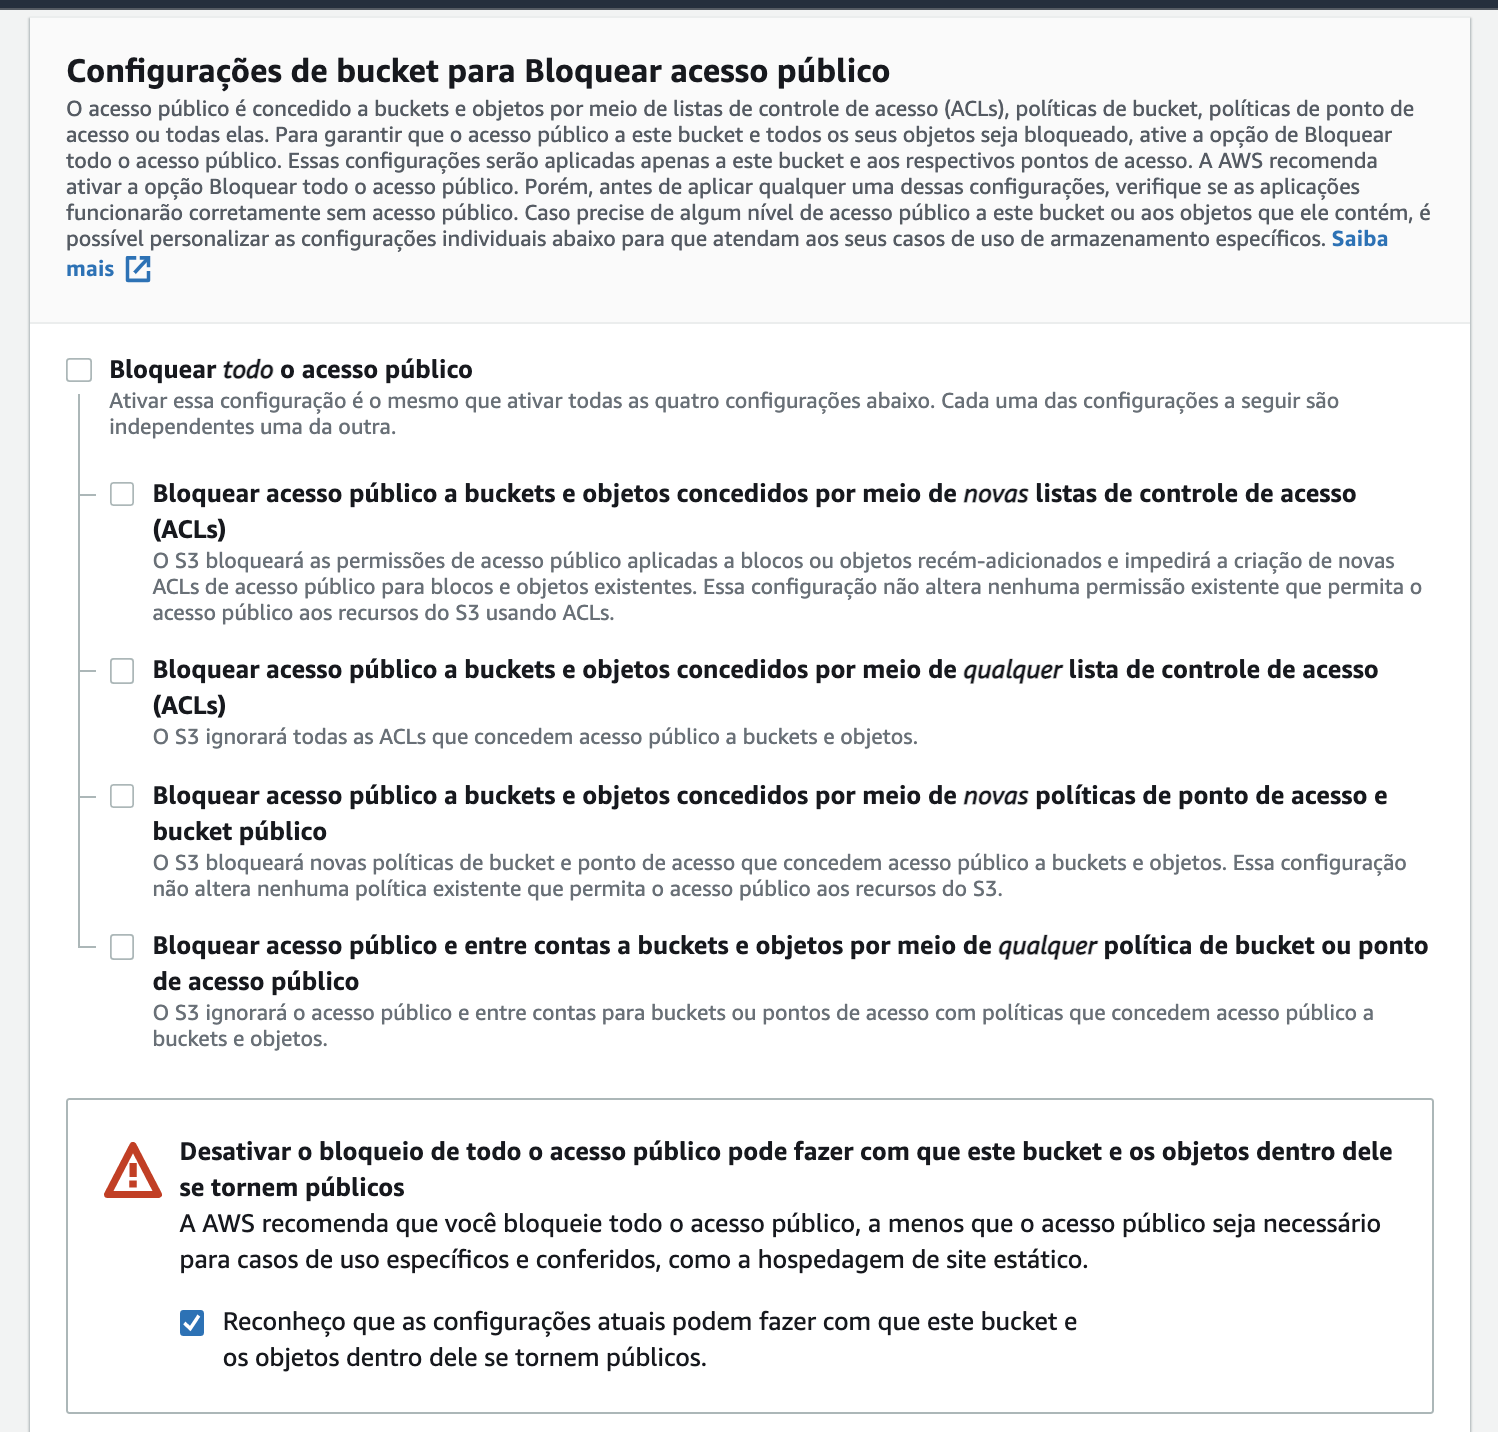
During the bucket creation, we must disable the “Block public access” option, since we want everyone to be able to access our blog. Also, for security reasons, AWS requires that you mark the option “Disabling block all public access may make this bucket and the objects within it public”
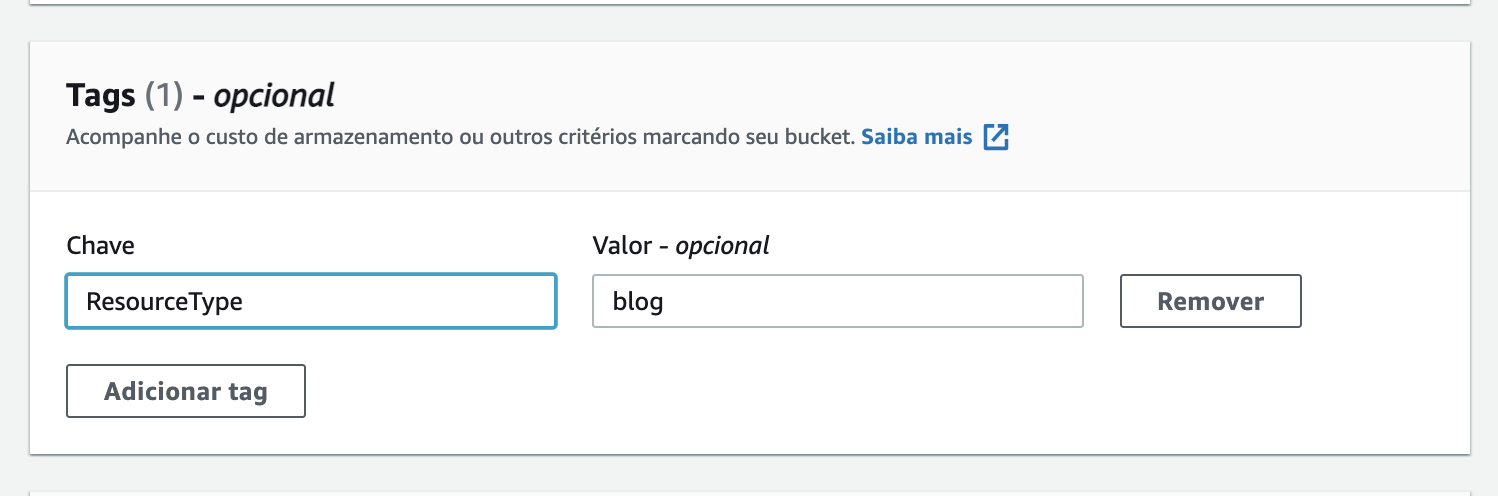
To control resources, I’ll add a tag as well
Then just click on “Create bucket”.
Next, with the bucket created, access the bucket and go to the “Properties” tab, where you should look for the “Static website hosting” panel and click “Edit” on it.

On this new page, enable static website hosting and fill in the “Index document” option with “index.html” and “Error document” with “404.html”, as these are pages that will be in the final version of the build generated by Jekyll
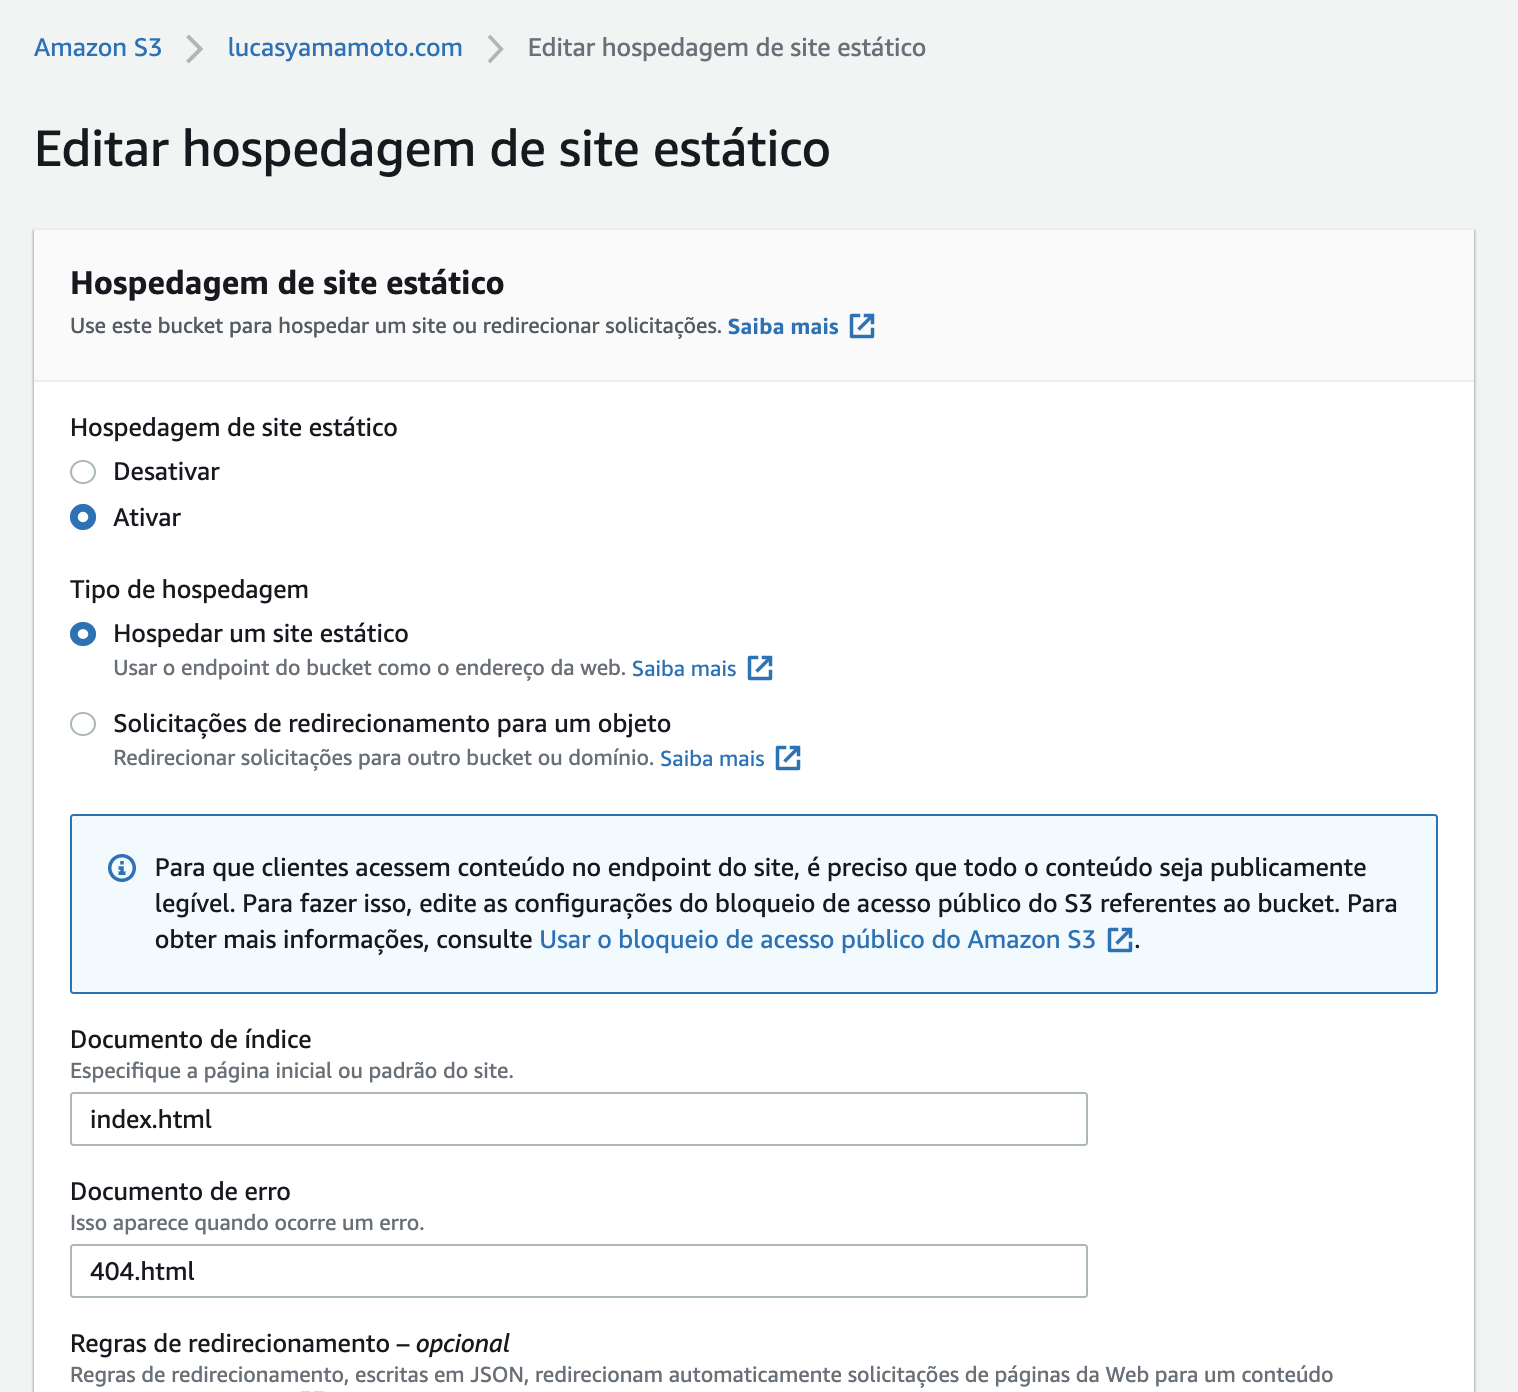
Then click “Save changes”.
And to finalize the configuration of our bucket, go to the bucket’s “Permissions” tab and click “Edit” in the bucket policy.
You must put the following content on this page:
{
    "Version": "2012-10-17",
    "Id": "Policy1611273646861",
    "Statement": [
        {
            "Sid": "Stmt1611273643203",
            "Effect": "Allow",
            "Principal": "*",
            "Action": [
                "s3:GetObject",
                "s3:GetObjectVersion"
            ],
            "Resource": "arn:aws:s3:::lucasyamamoto.com/*"
        }
    ]
}
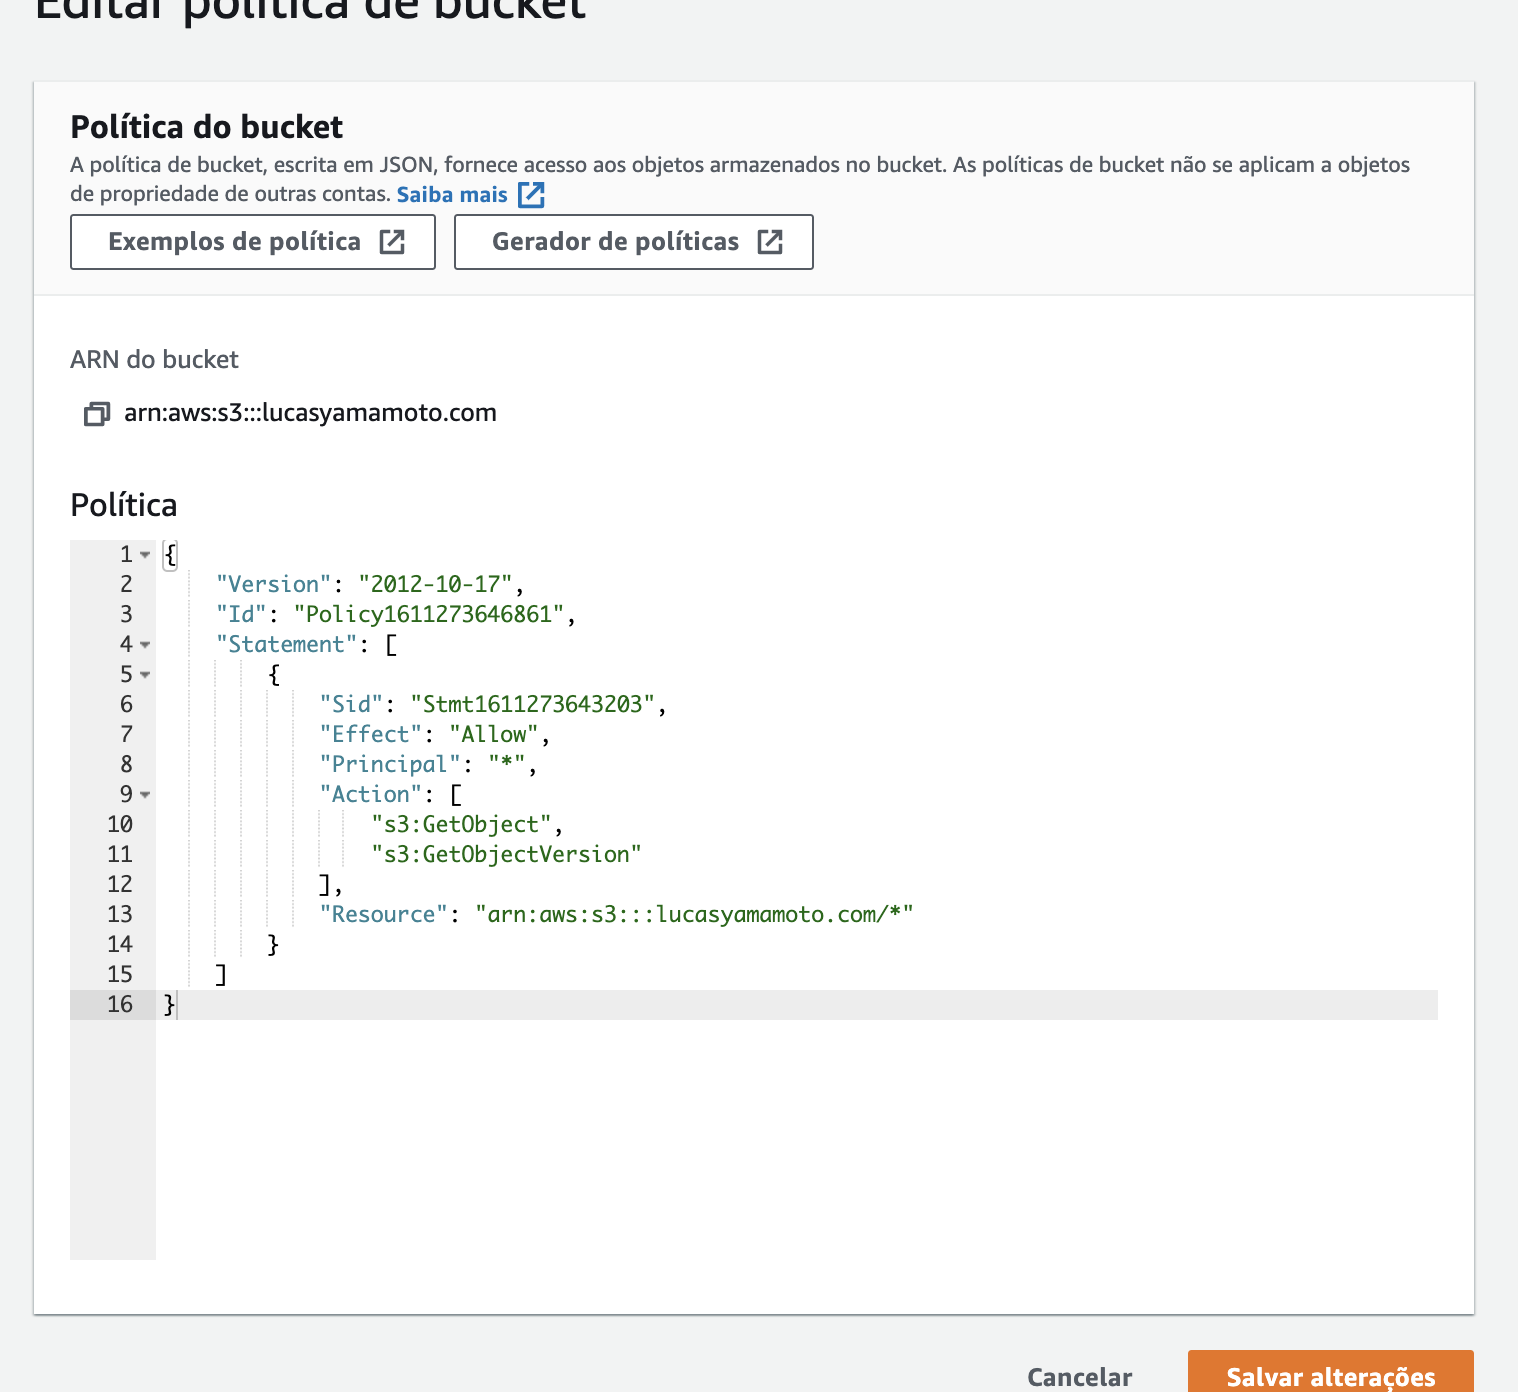
Basically, we are making our bucket publicly readable, meaning everyone will be able to see the static data of this bucket, as this is where our Jekyll site’s static data will be.
Well, now that our bucket is configured, we can move on to the next step!
Continuous Deployment
One of the advantages I do not intend to lose in this migration is that a push results in a deployment. Thus, whenever I make a change to the blog, like a post or a specific modification, I do a commit, a push, and the deployment is automatically done by GitHub Pages. We can do this with CodePipeline as well.
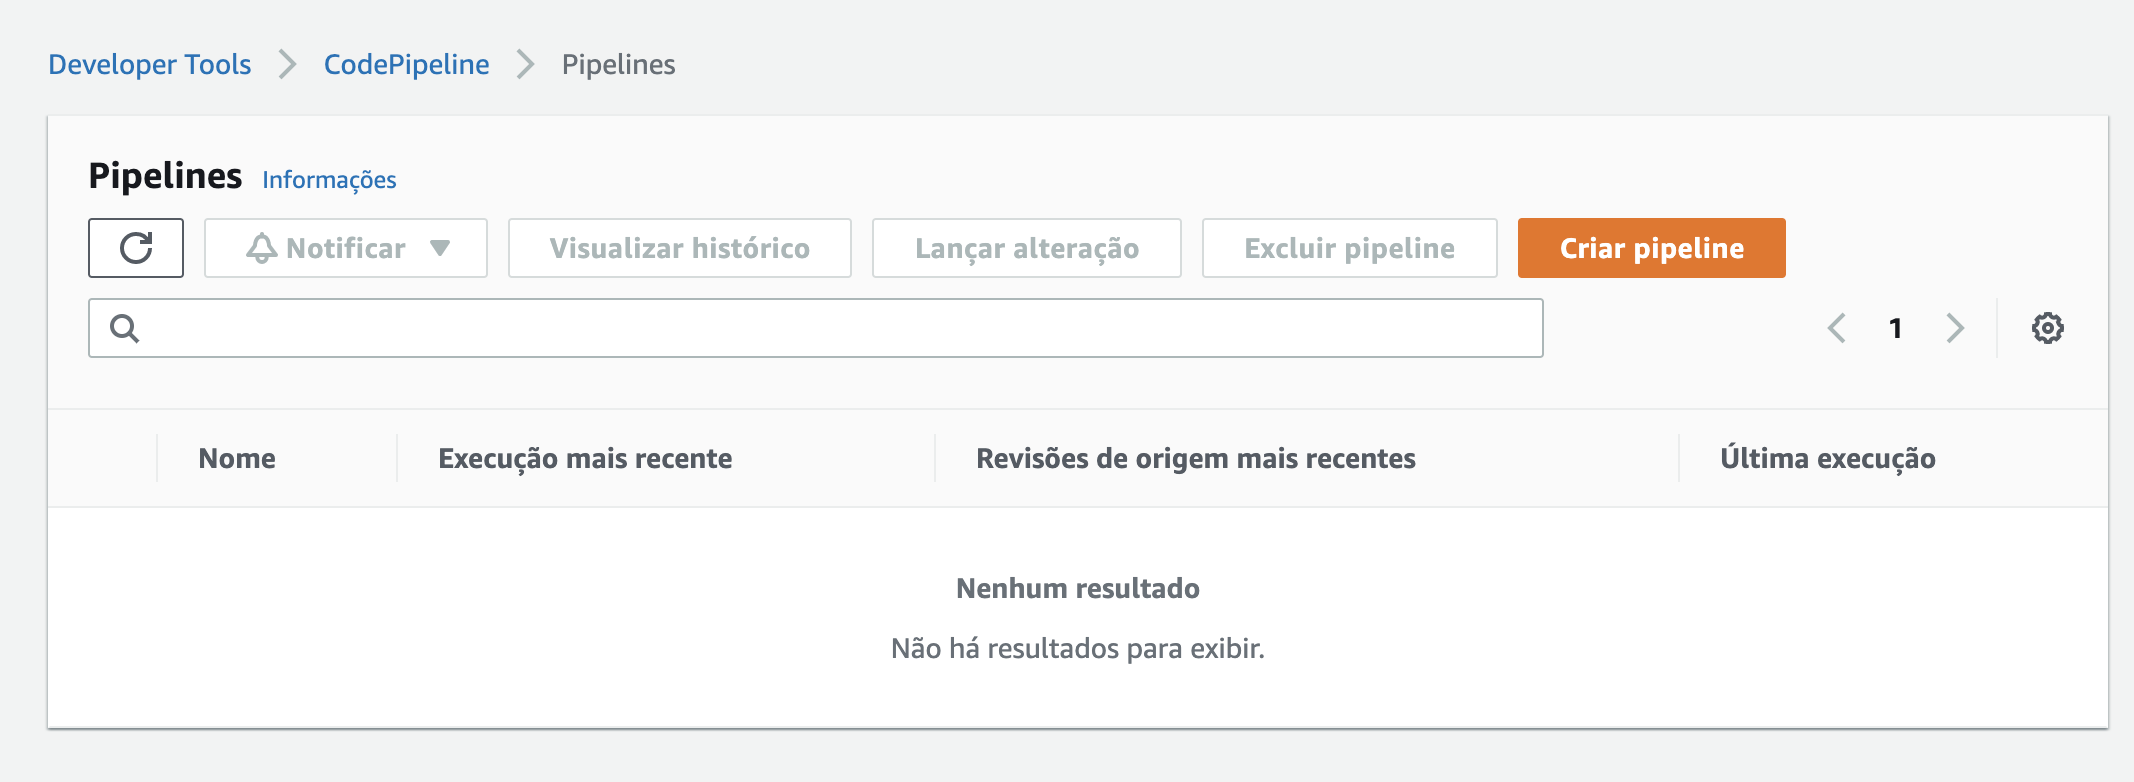
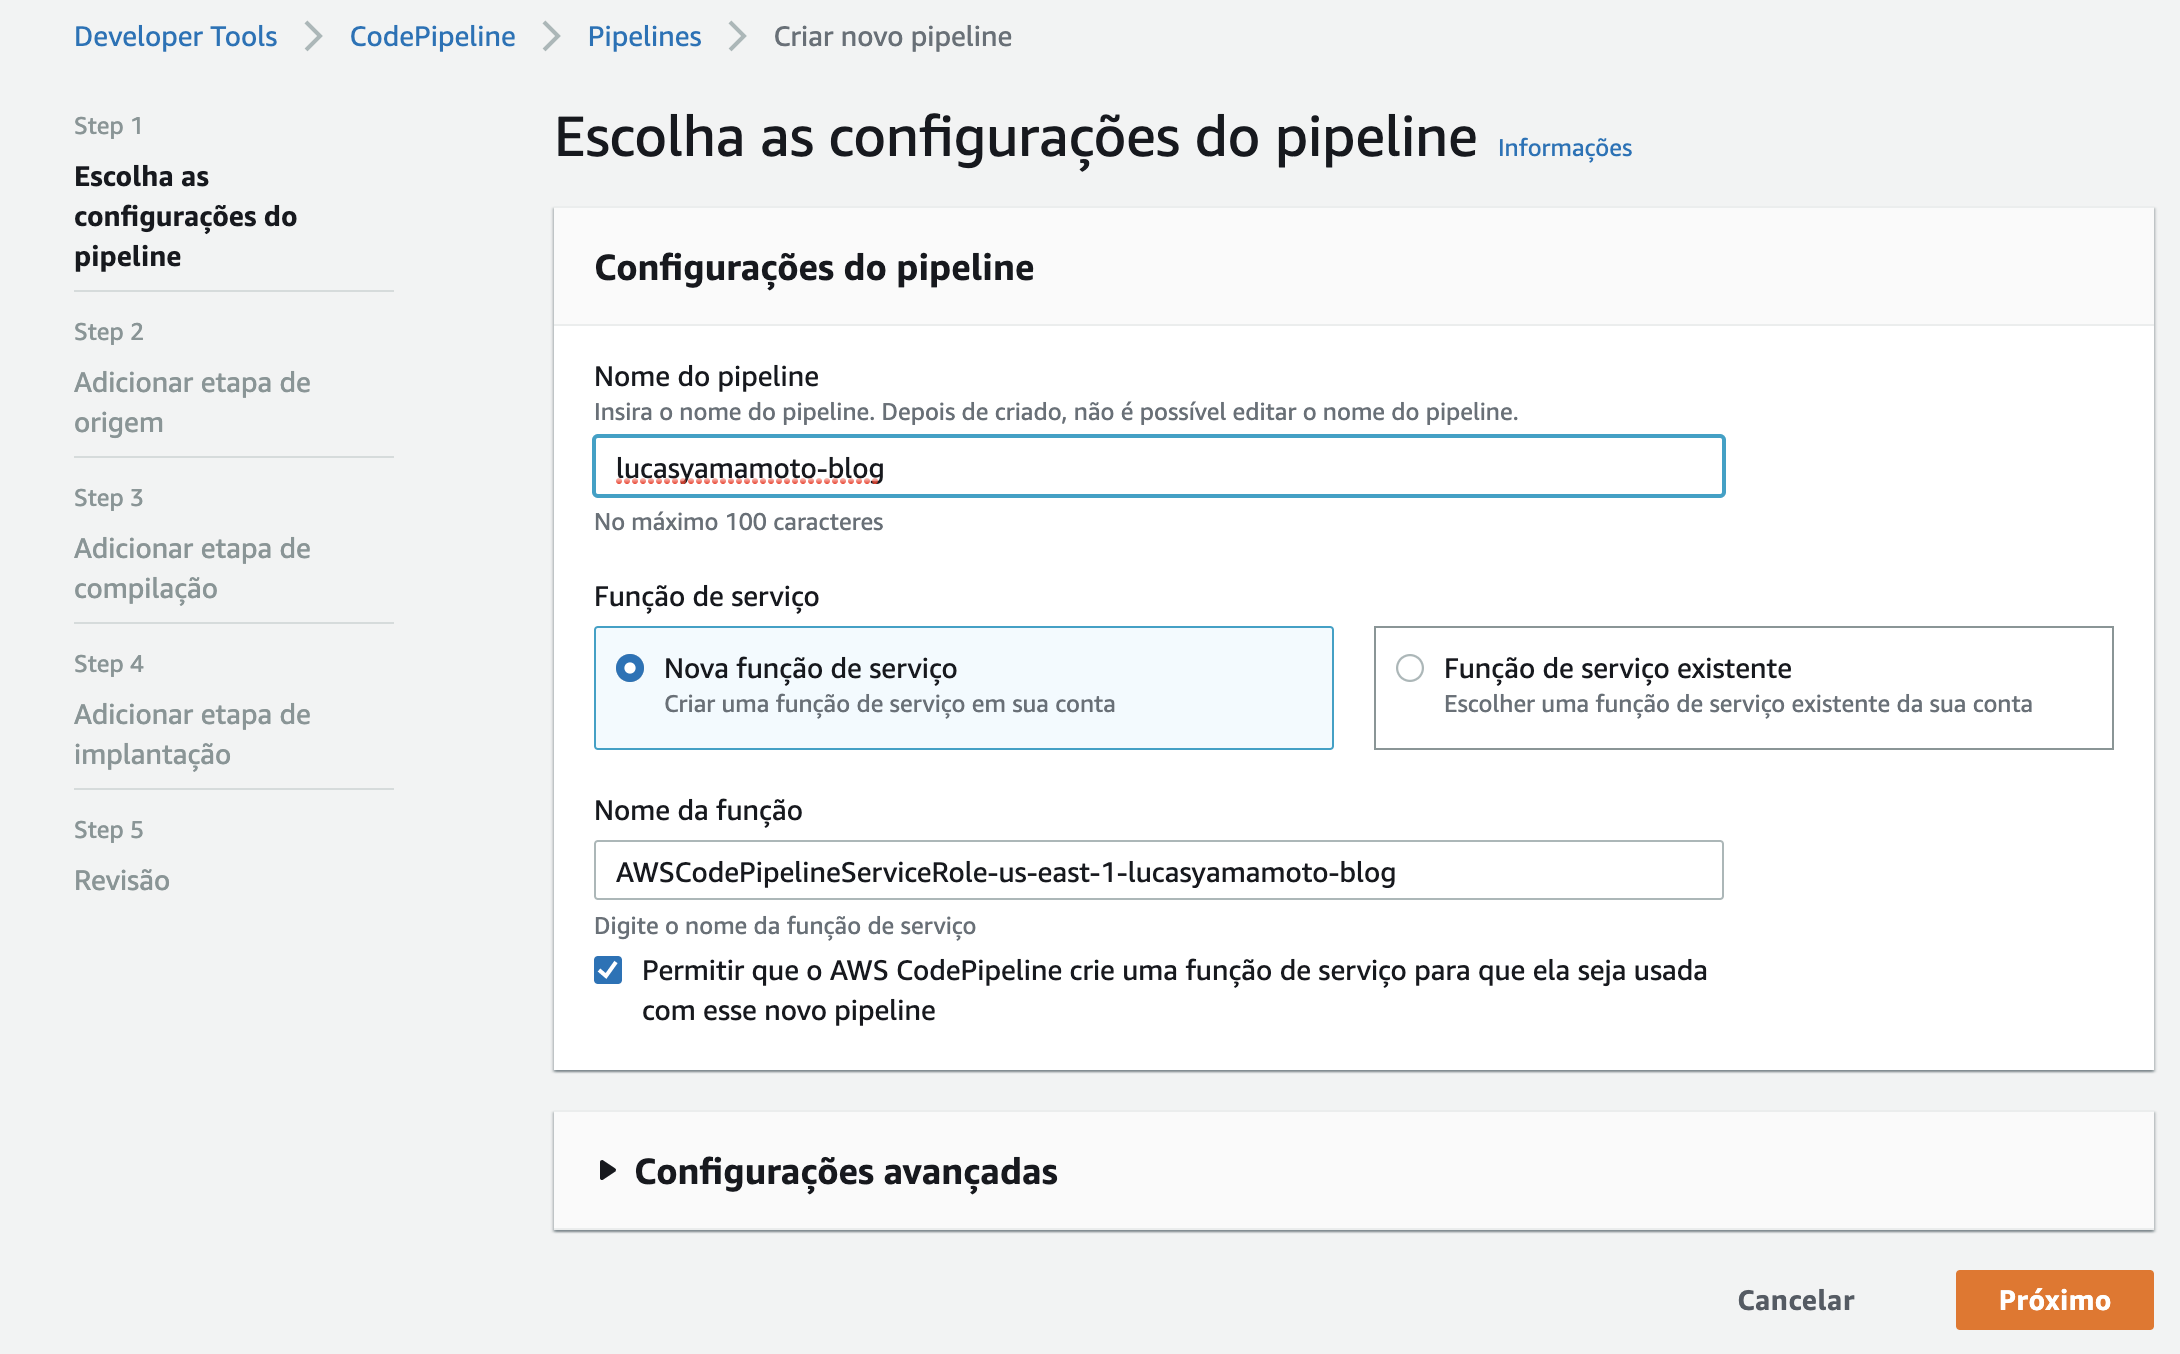
Accessing CodePipeline, we can start creating a new Pipeline.
When clicking on “Create pipeline,” we should give it a name. We can keep the default selected options and click “Next.”
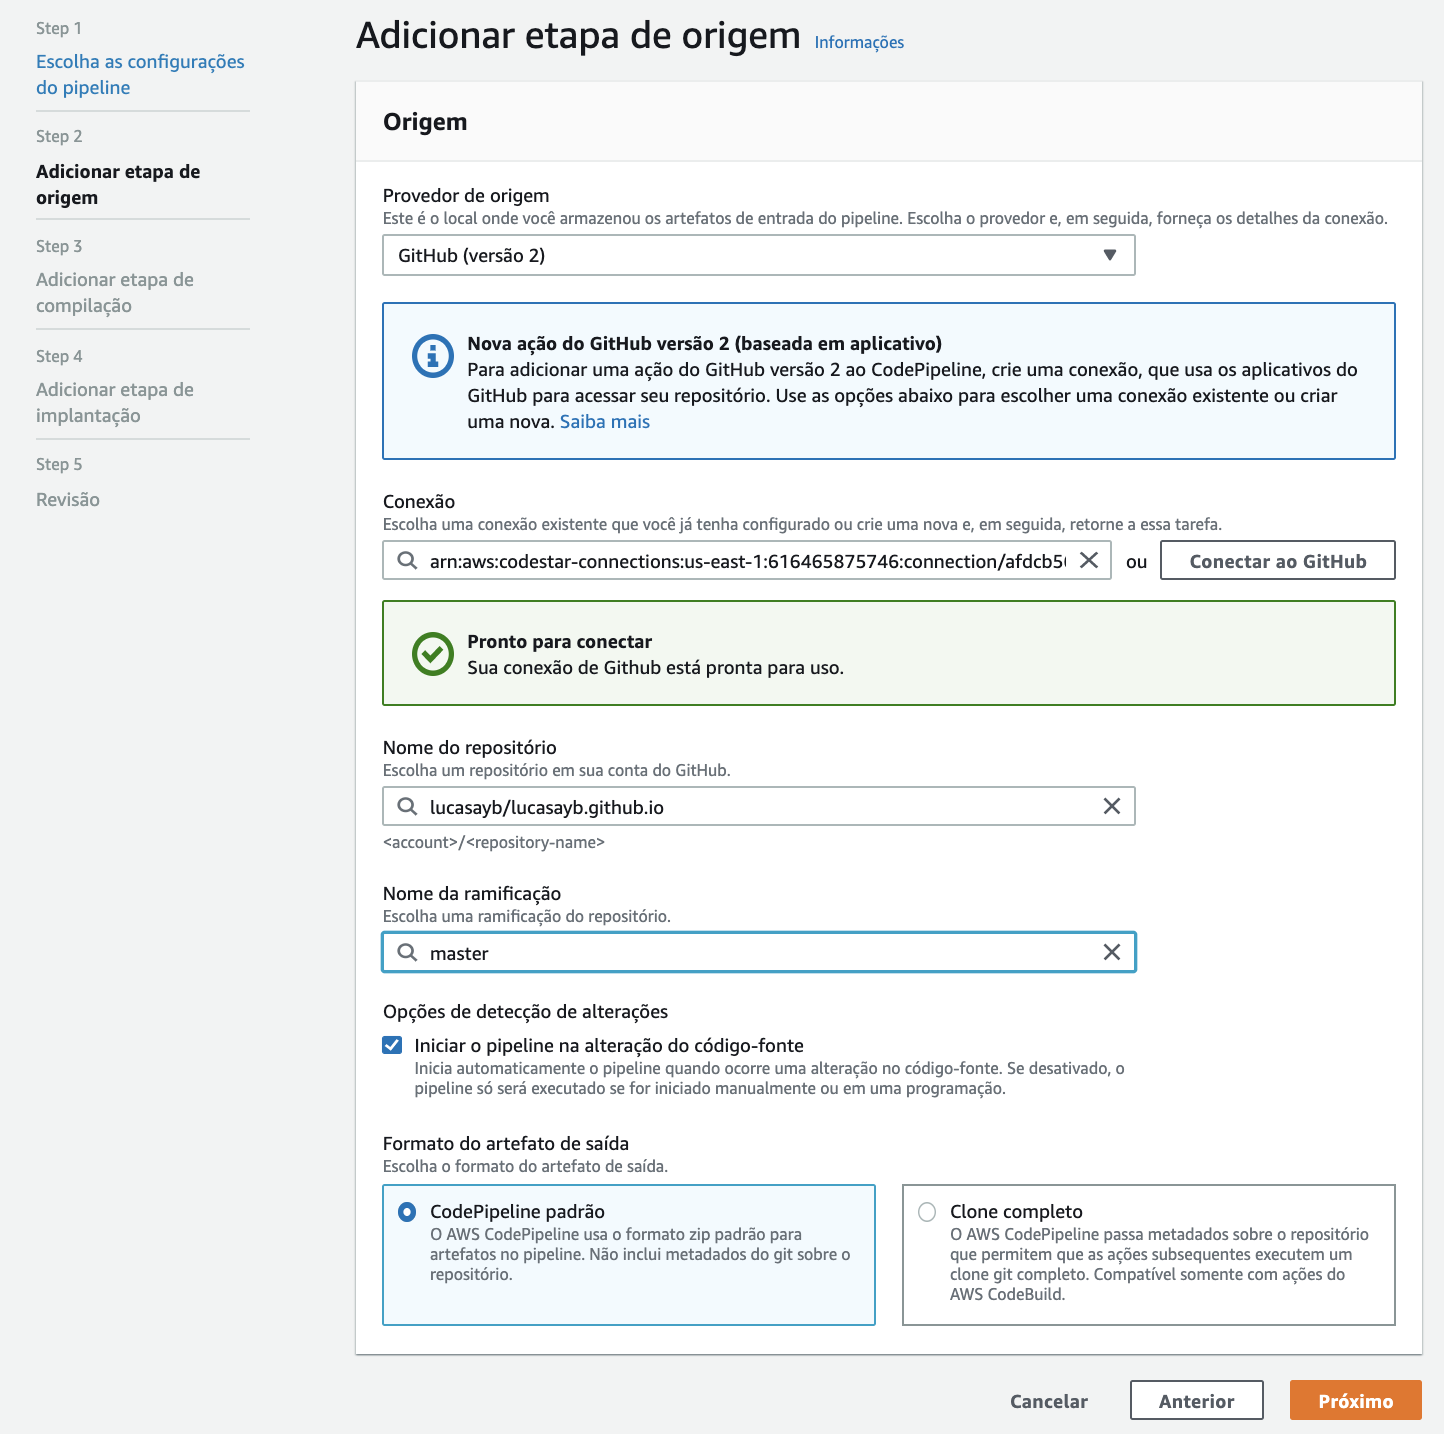
In the first section of our pipeline, which is the source, we must indicate where the code to be deployed by this flow will come from, in this case, from my GitHub. Just connect with GitHub, select the desired repository and branch, and finally click “Next.”
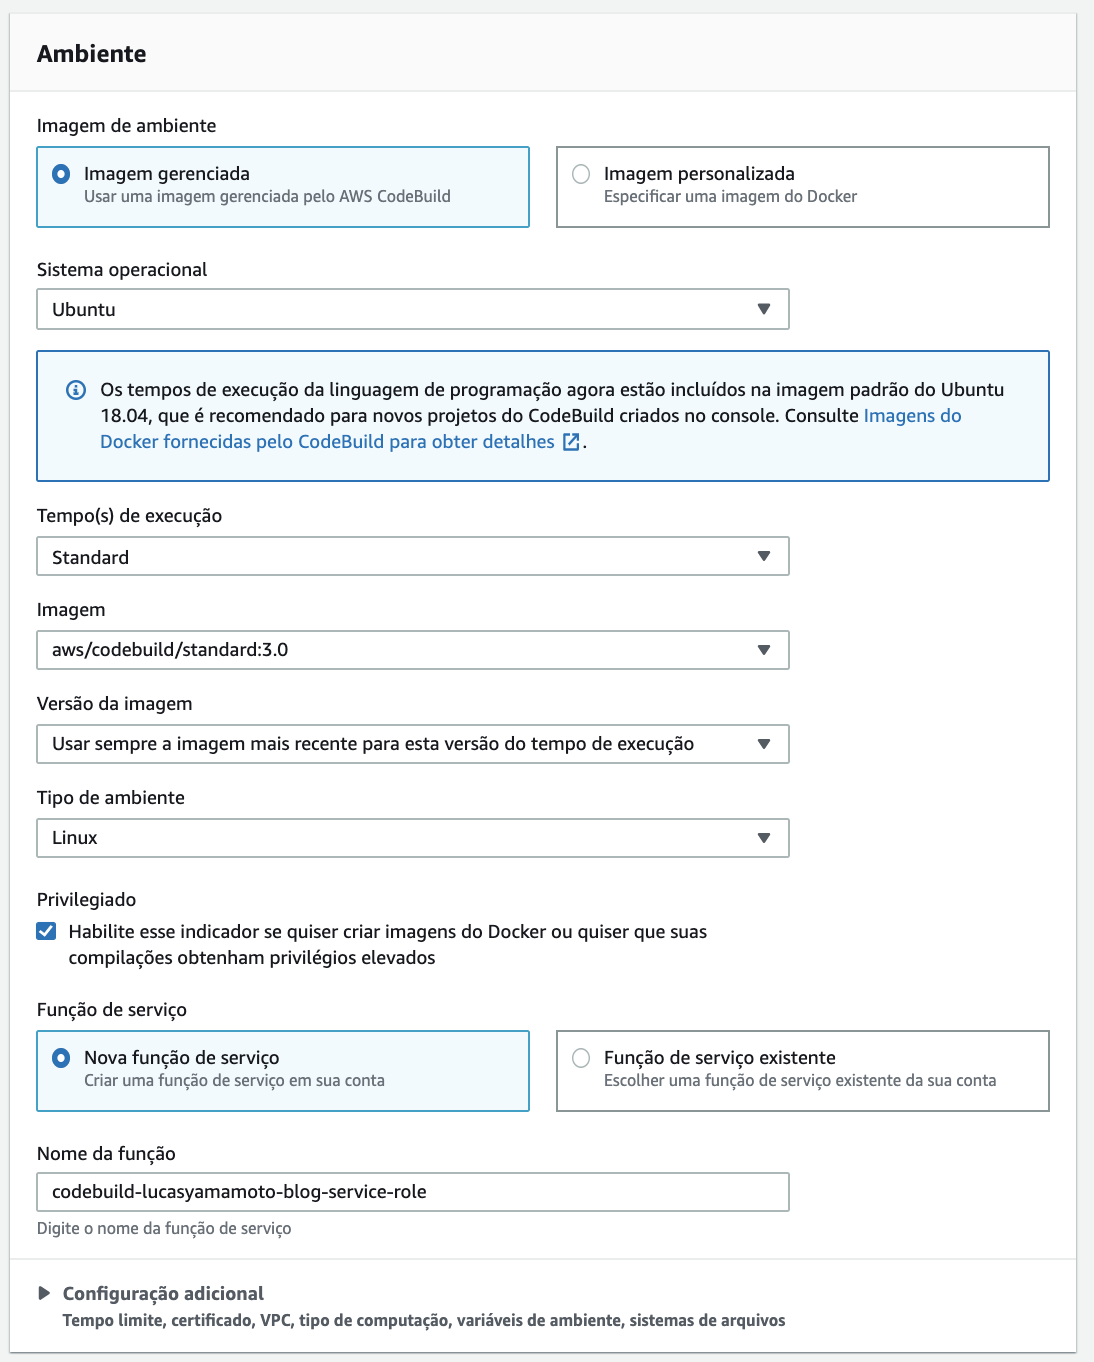
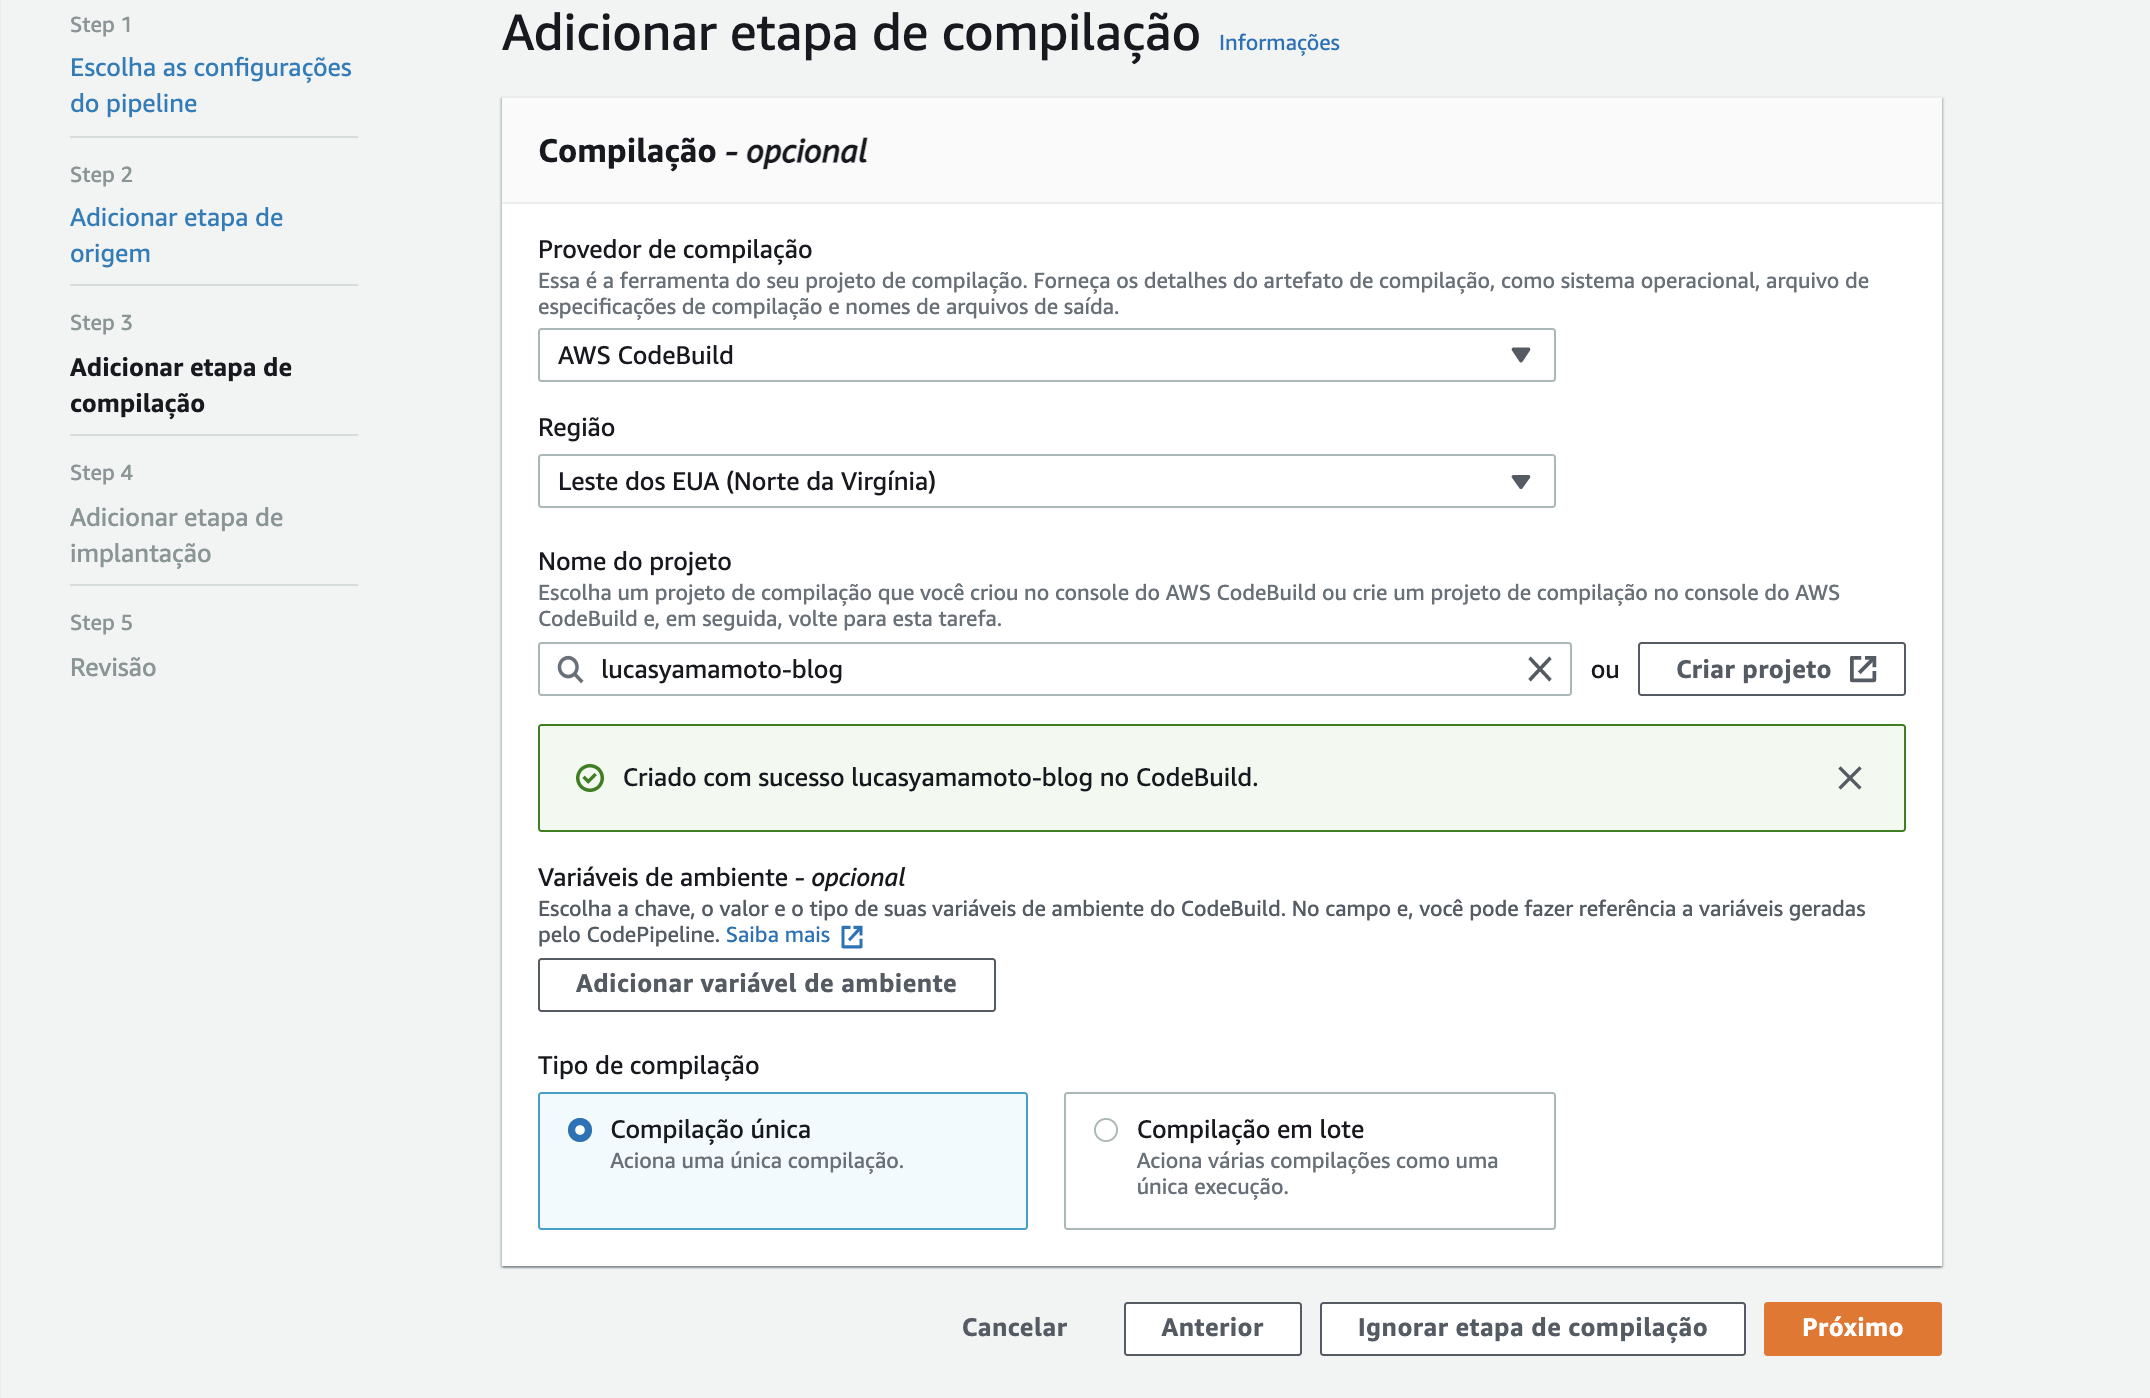
In the build stage, we must select the “Build provider,” in this case, CodeBuild, as it is through it that we will give instructions on how it should build our Jekyll code.
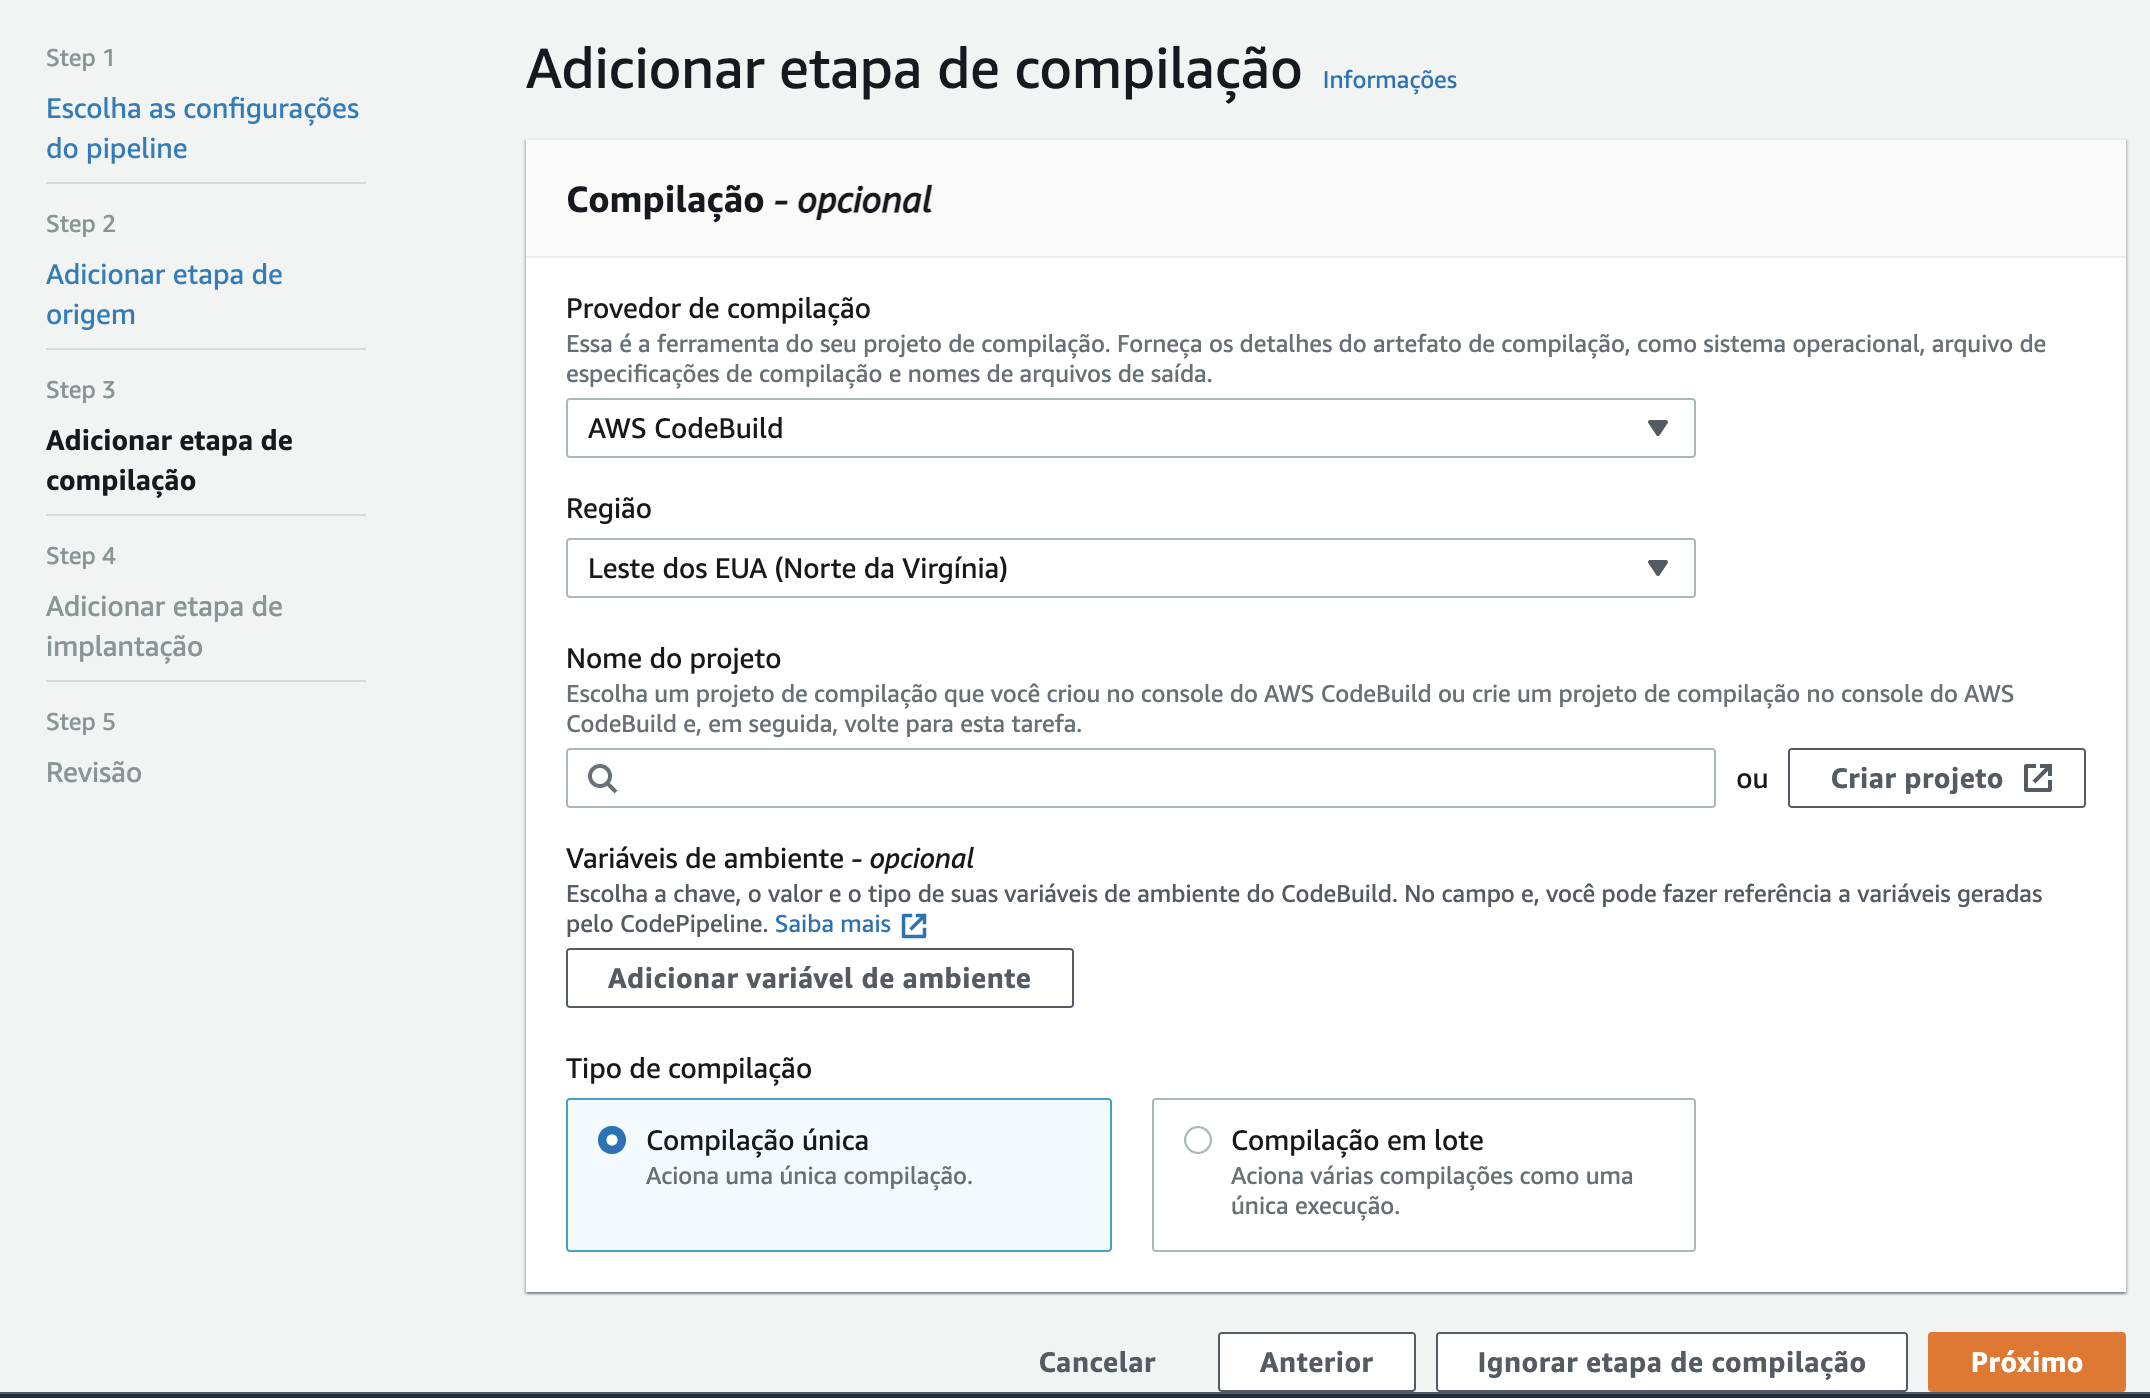
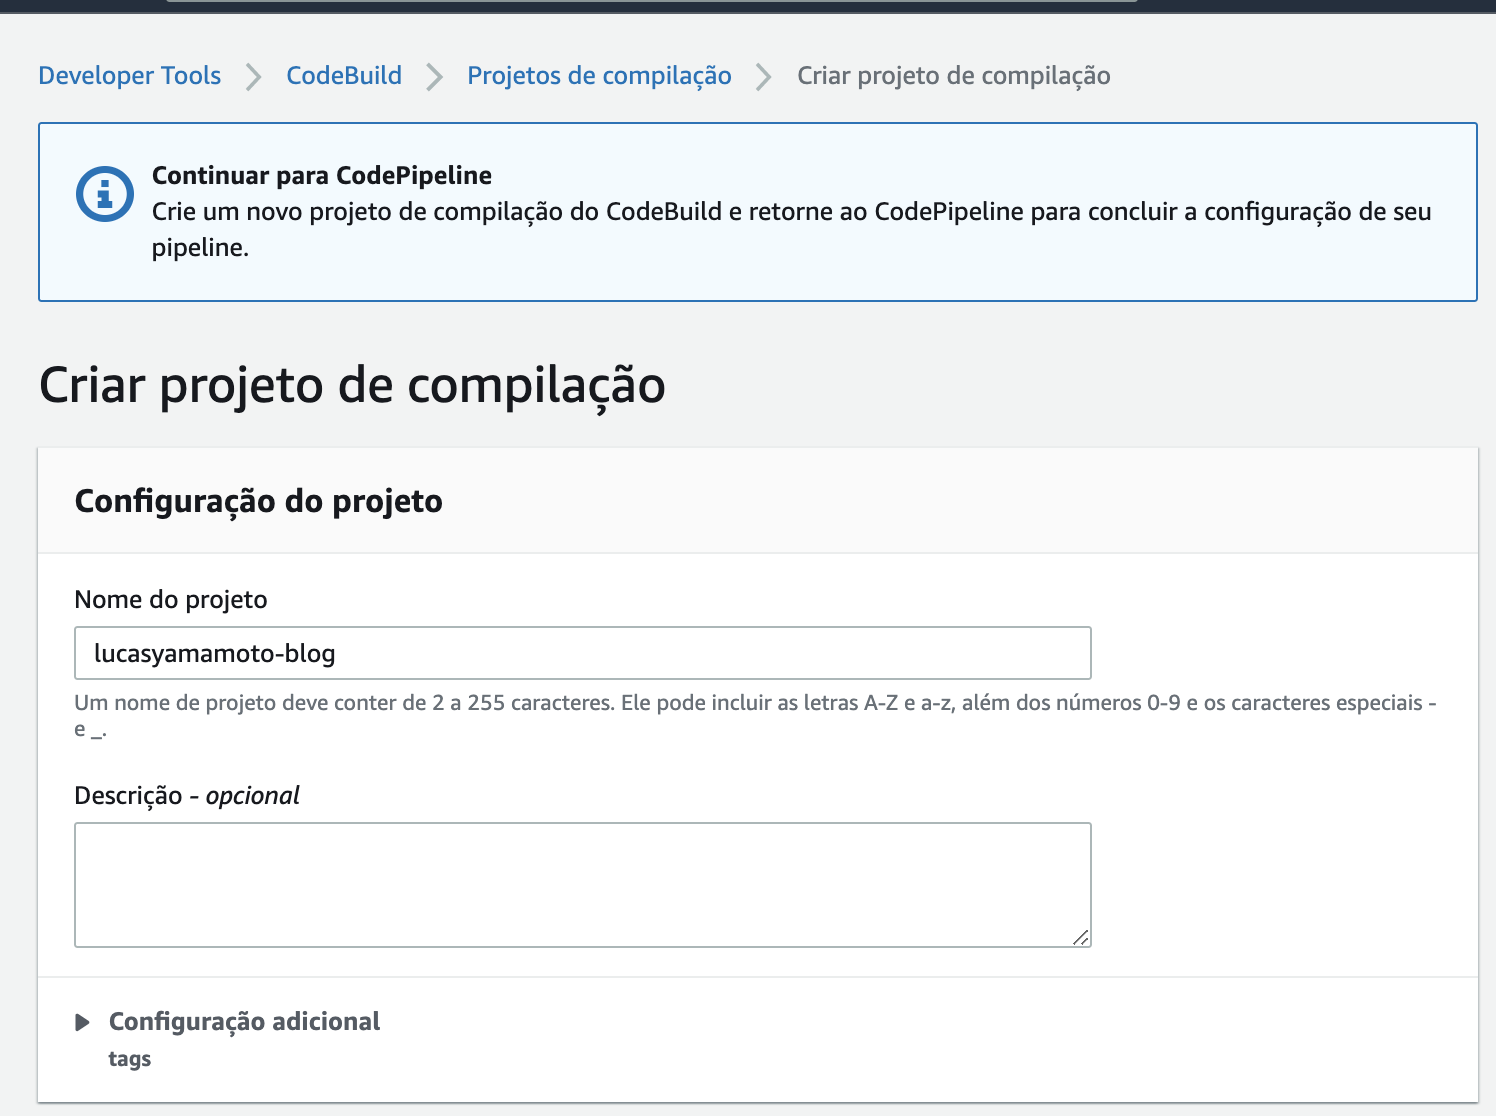
Click on “Create project,” and on the page that opens, fill in the information.
The first piece of information is the “Project name.”
Then, follow these instructions to configure the build environment:
- Operating system: Ubuntu
- Runtime(s): Standard
- Image: aws/codebuild/standard:3.0
- Image version: Always use the latest image for this runtime version
- Environment type: Linux
- Enable the privileged access option, so we can run commands as root.
And finally, click on “Create project”
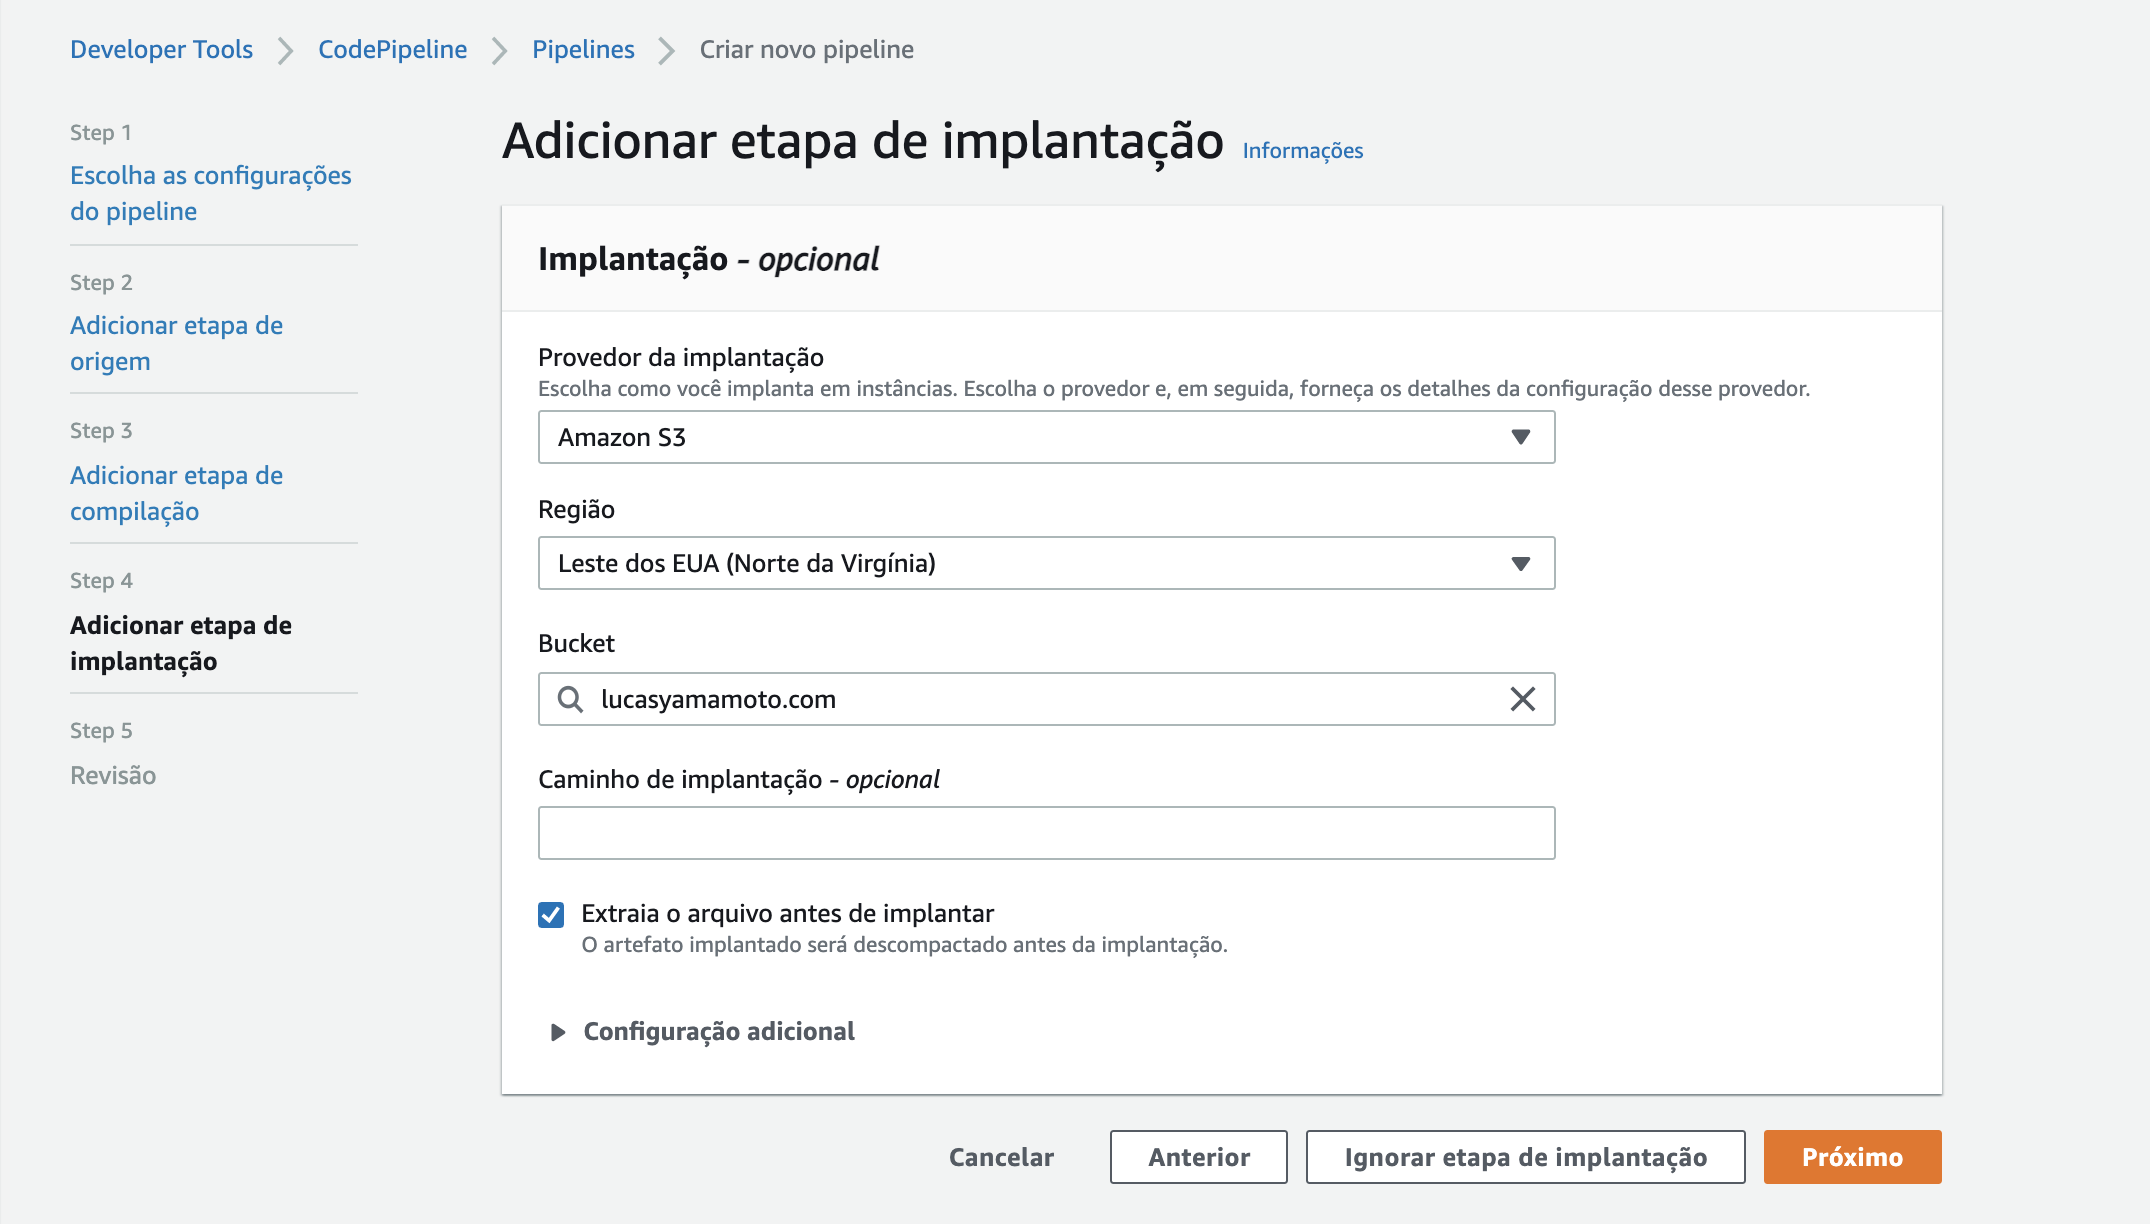
With the build (compilation) stage configured, we can move on to the deployment stage, that is, the stage that will actually do the deployment.
In this stage, we must select Amazon S3 as the deployment provider and select the bucket we created earlier. Do not forget to check the option “Extract file before deploying,” as our build will generate a zip.
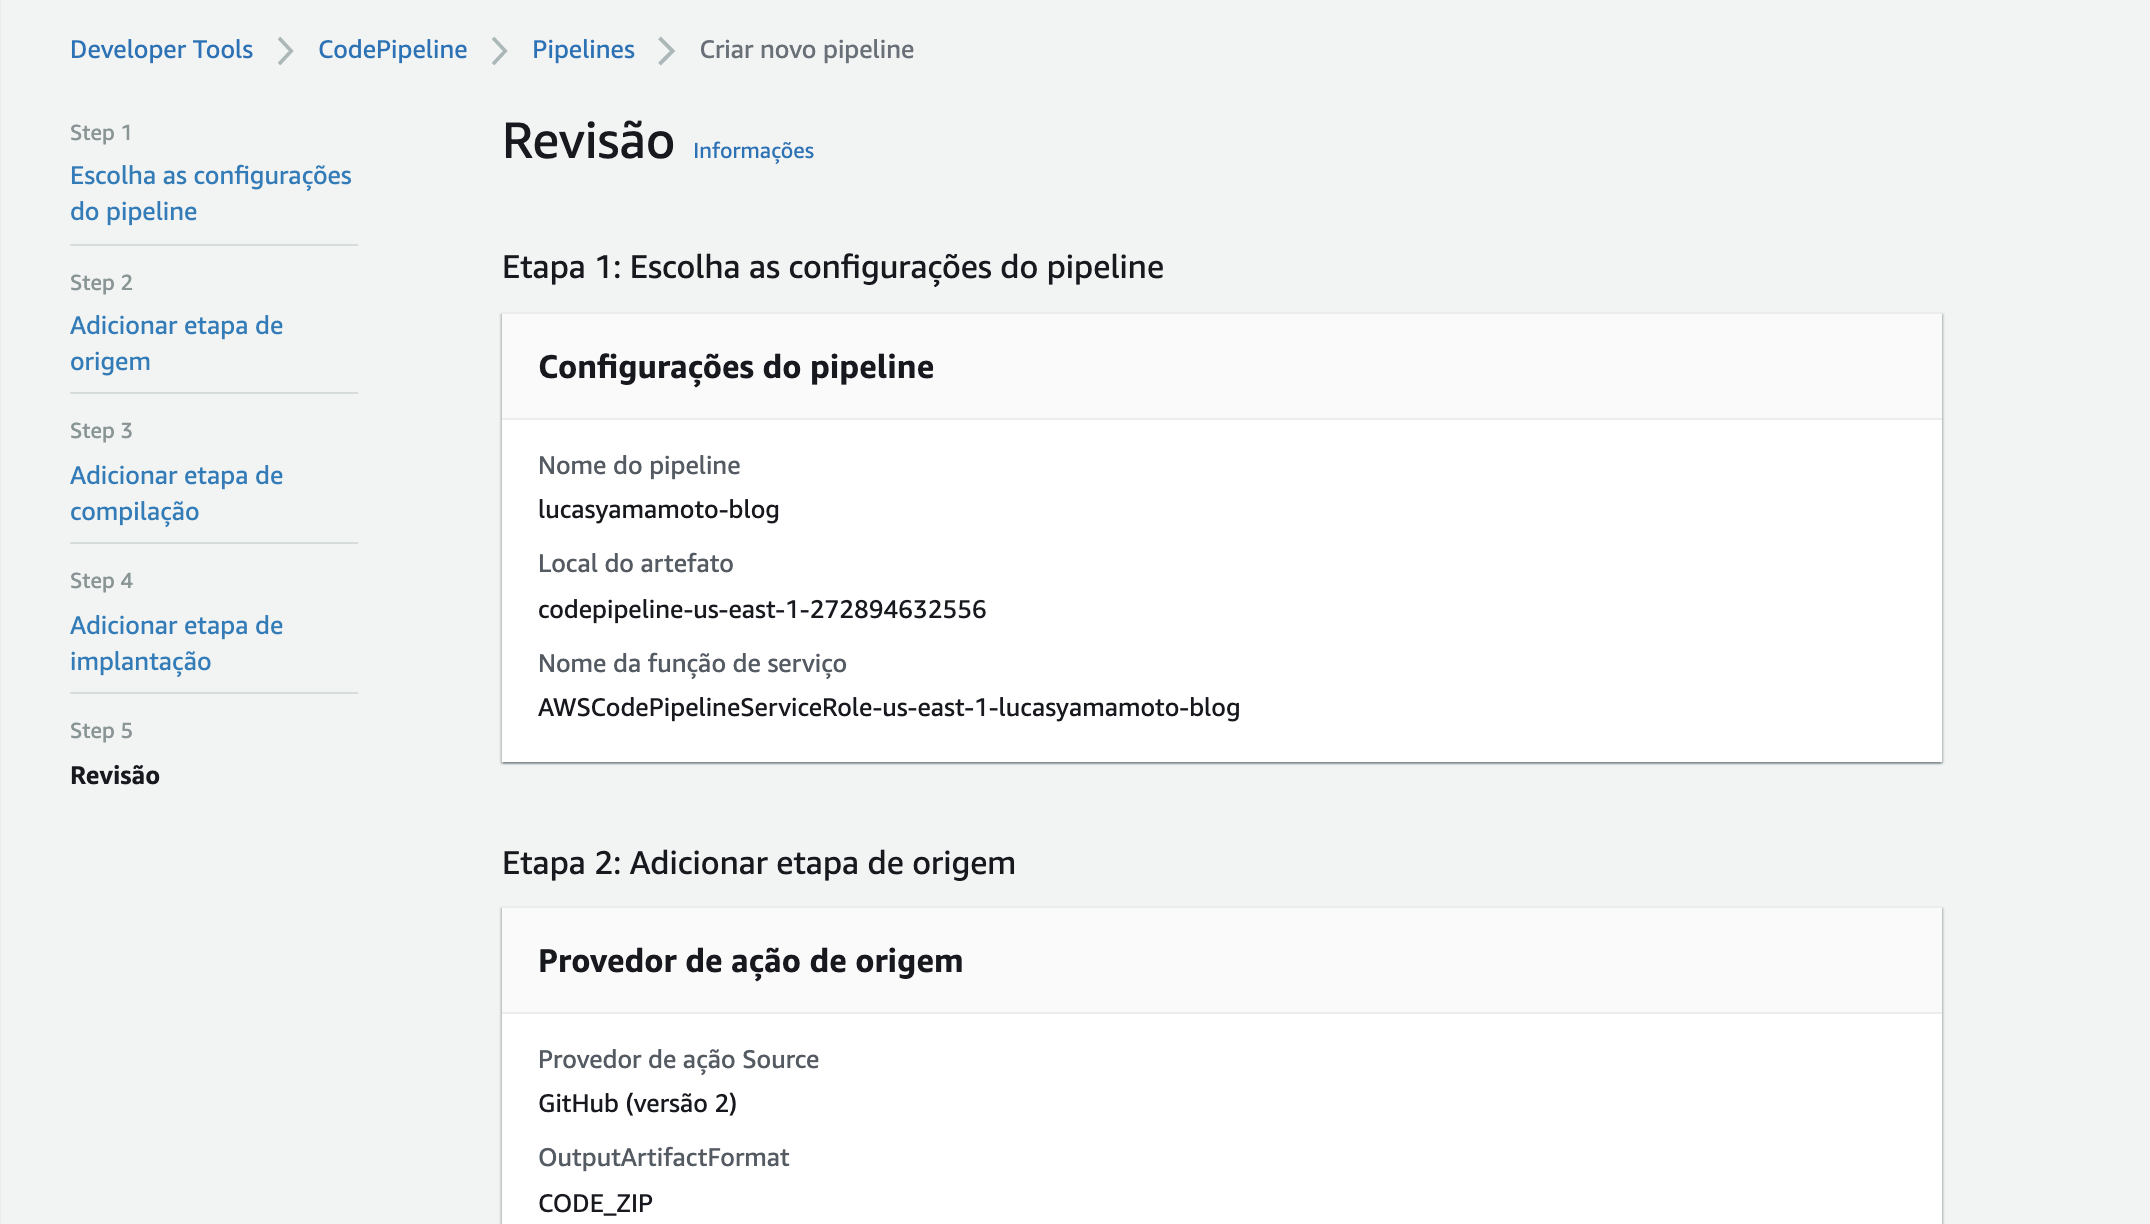
Review the information and create the pipeline.
Configuring our Repository
To finalize our process, we must add a buildspec.yml file, containing the following content:
version: 0.2
env:
  variables:
    JEKYLL_ENV: production
phases:
  install:
    runtime-versions:
      ruby: 2.6
    commands:
      - gem install bundler
      - bundle install
  build:
    commands:
      - bundle exec jekyll build
artifacts:
  type: zip
  base-directory: _site
  files:
    - '**/*'
This file is responsible for dictating instructions to our pipeline so it can know how to generate our files.
version: 0.2
This is the version of our file. Each file has a version in AWS so that the release of new features does not impact the existing flows in a version x.
env:
  variables:
    JEKYLL_ENV: production
Here we define the build environment variables. In this case, we only have JEKYLL_ENV, which we will set to production.
phases:
  install:
    runtime-versions:
      ruby: 2.6
    commands:
      - gem install bundler
      - bundle install
  build:
    commands:
      - bundle exec jekyll build
Here in phases, we have two parts.
installis responsible for the build environment setup process, installingbundler, as it is the package manager for Ruby, the language in which Jekyll is written, and we runbundle installso we can install the other packages (gems) in ourGemfile. This way, we will have Jekyll correctly installed and configured.buildis the process that generates the static files. These files are the ones accessed by our users and the ones stored in S3
.
artifacts:
  type: zip
  base-directory: _site
  files:
    - '**/*'
In this final part, we are just returning our artifacts, which for CodePipeline are the files resulting from any stage of the flow. In this case, we only want the _site folder, as it is the one that will contain our static files to be sent to S3.
To finish, we can just commit this code with the name buildspec.yml at the root of our repository and push it!
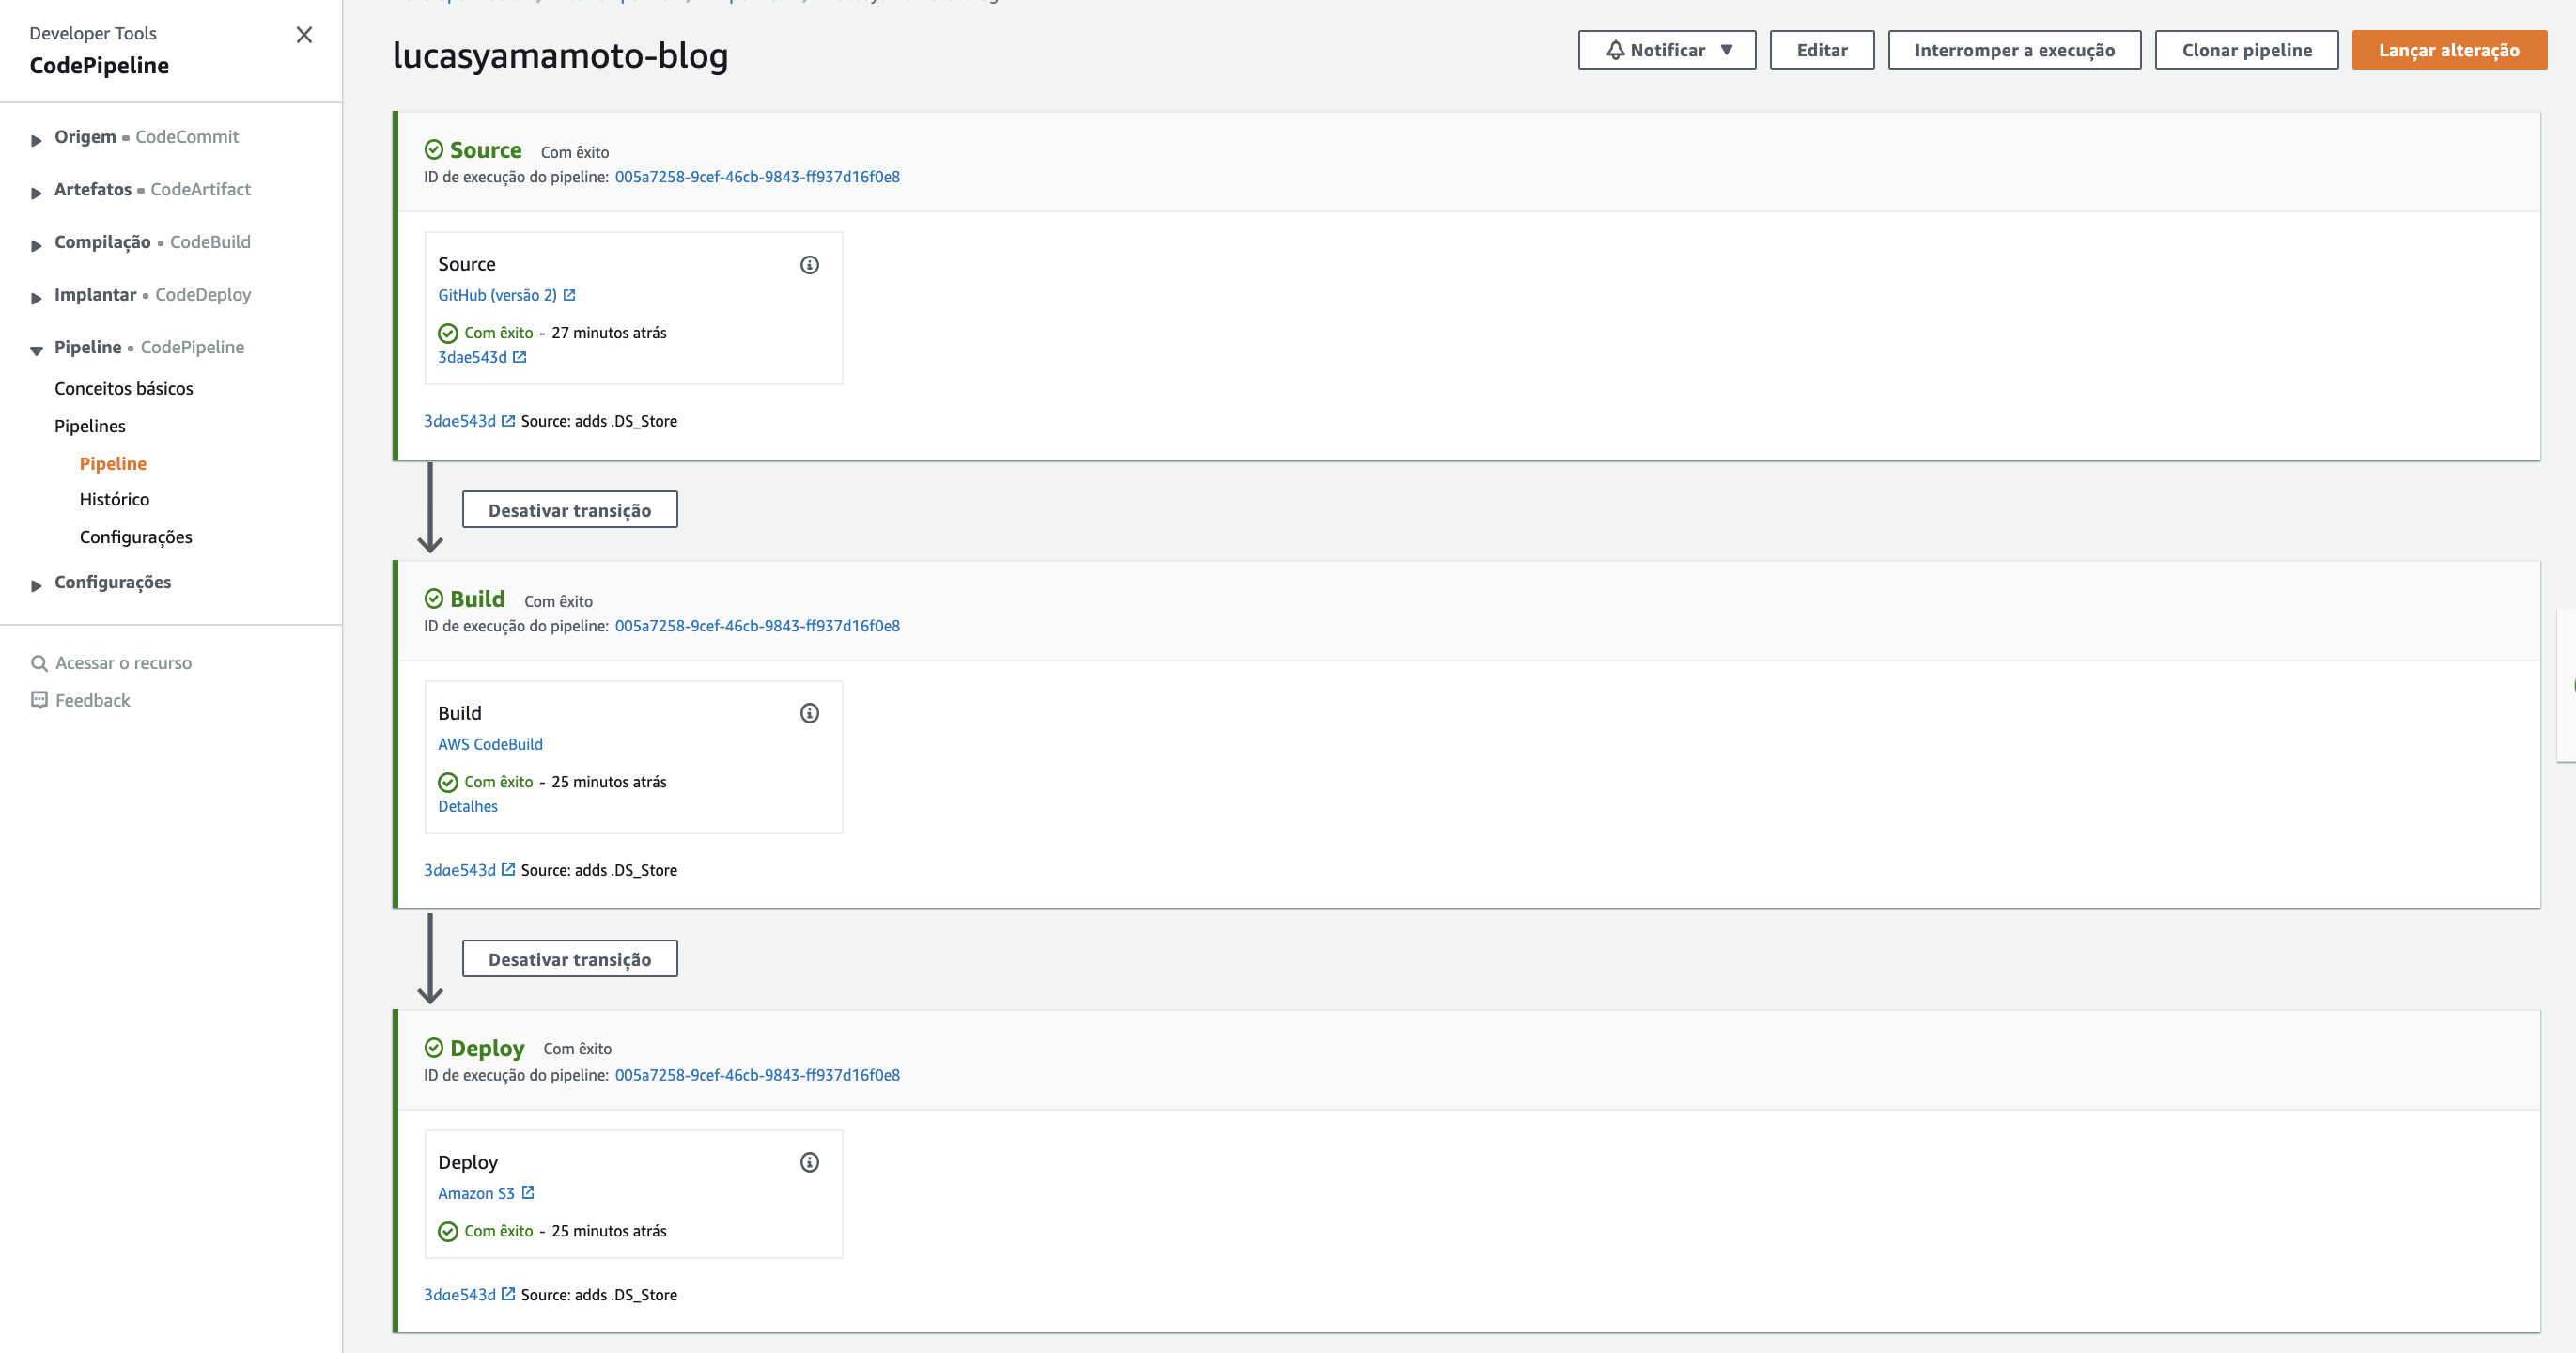
Observing our pipeline, we can see that it was executed successfully!
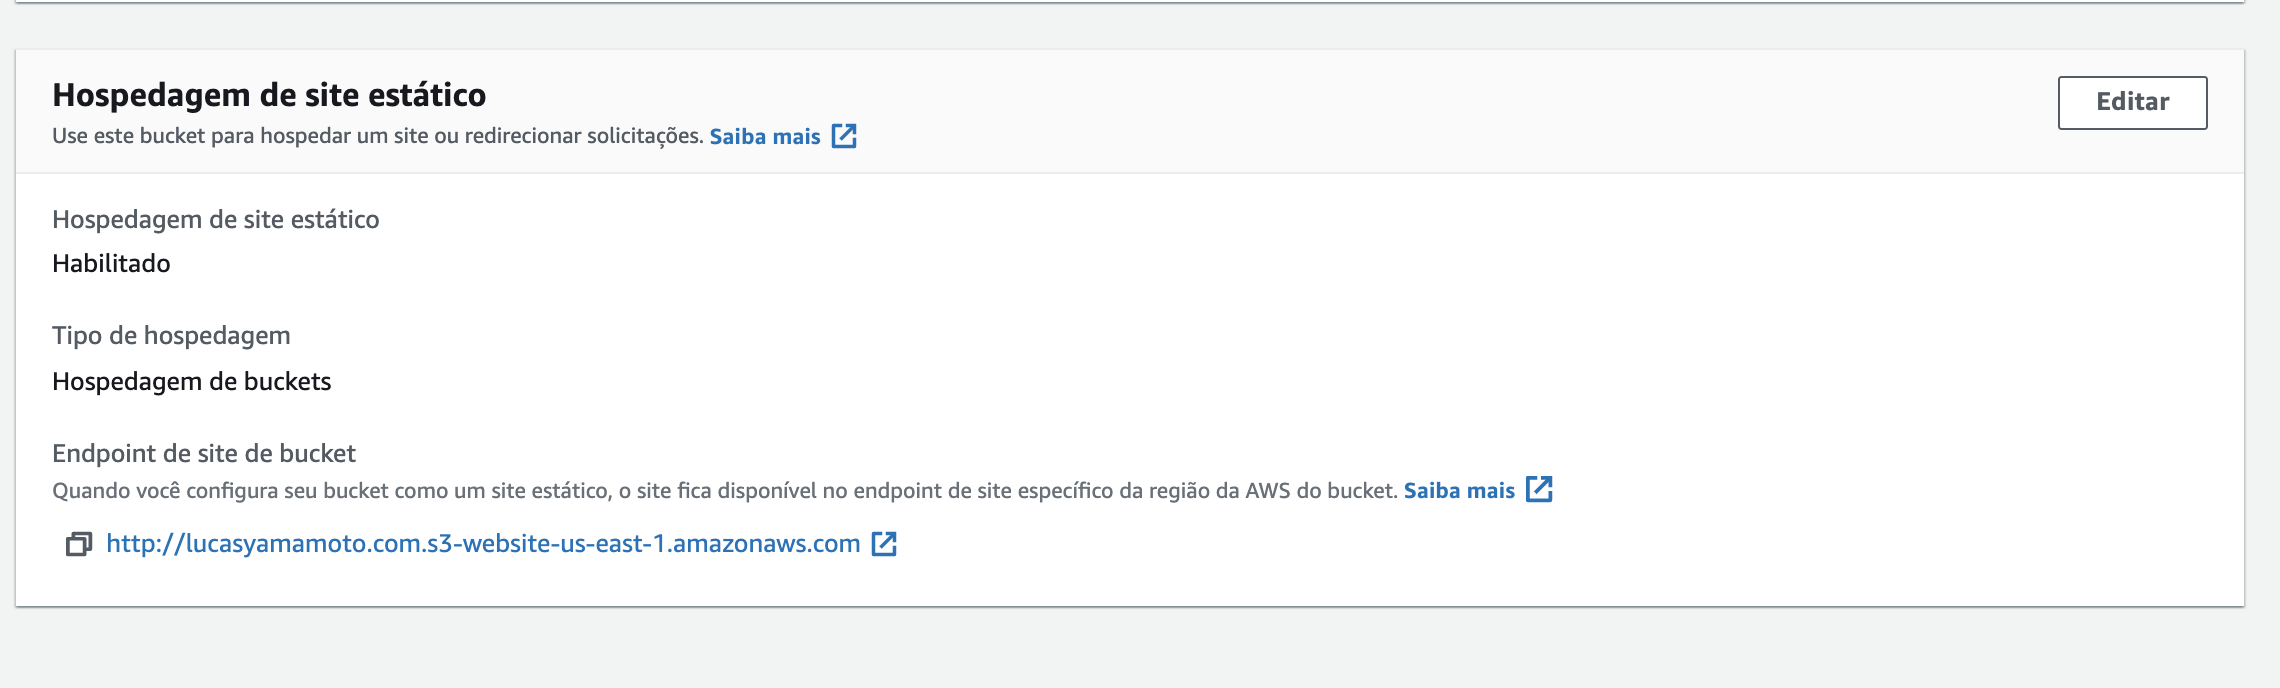
To access the blog, we can go to our bucket and select the “Properties” tab, and then look for the bucket’s website URL in the “Bucket website endpoint”.
Accessing the blog, we can see that our flow worked!
Comments