


Last week I posted how to integrate your Decap CMS with Hugo in Netlify. Now, if you are already using this CMS, you probably realized that the preview section is not very presentable and it can be even useless as it shows an unformatted text, which goes against it’s purpose.
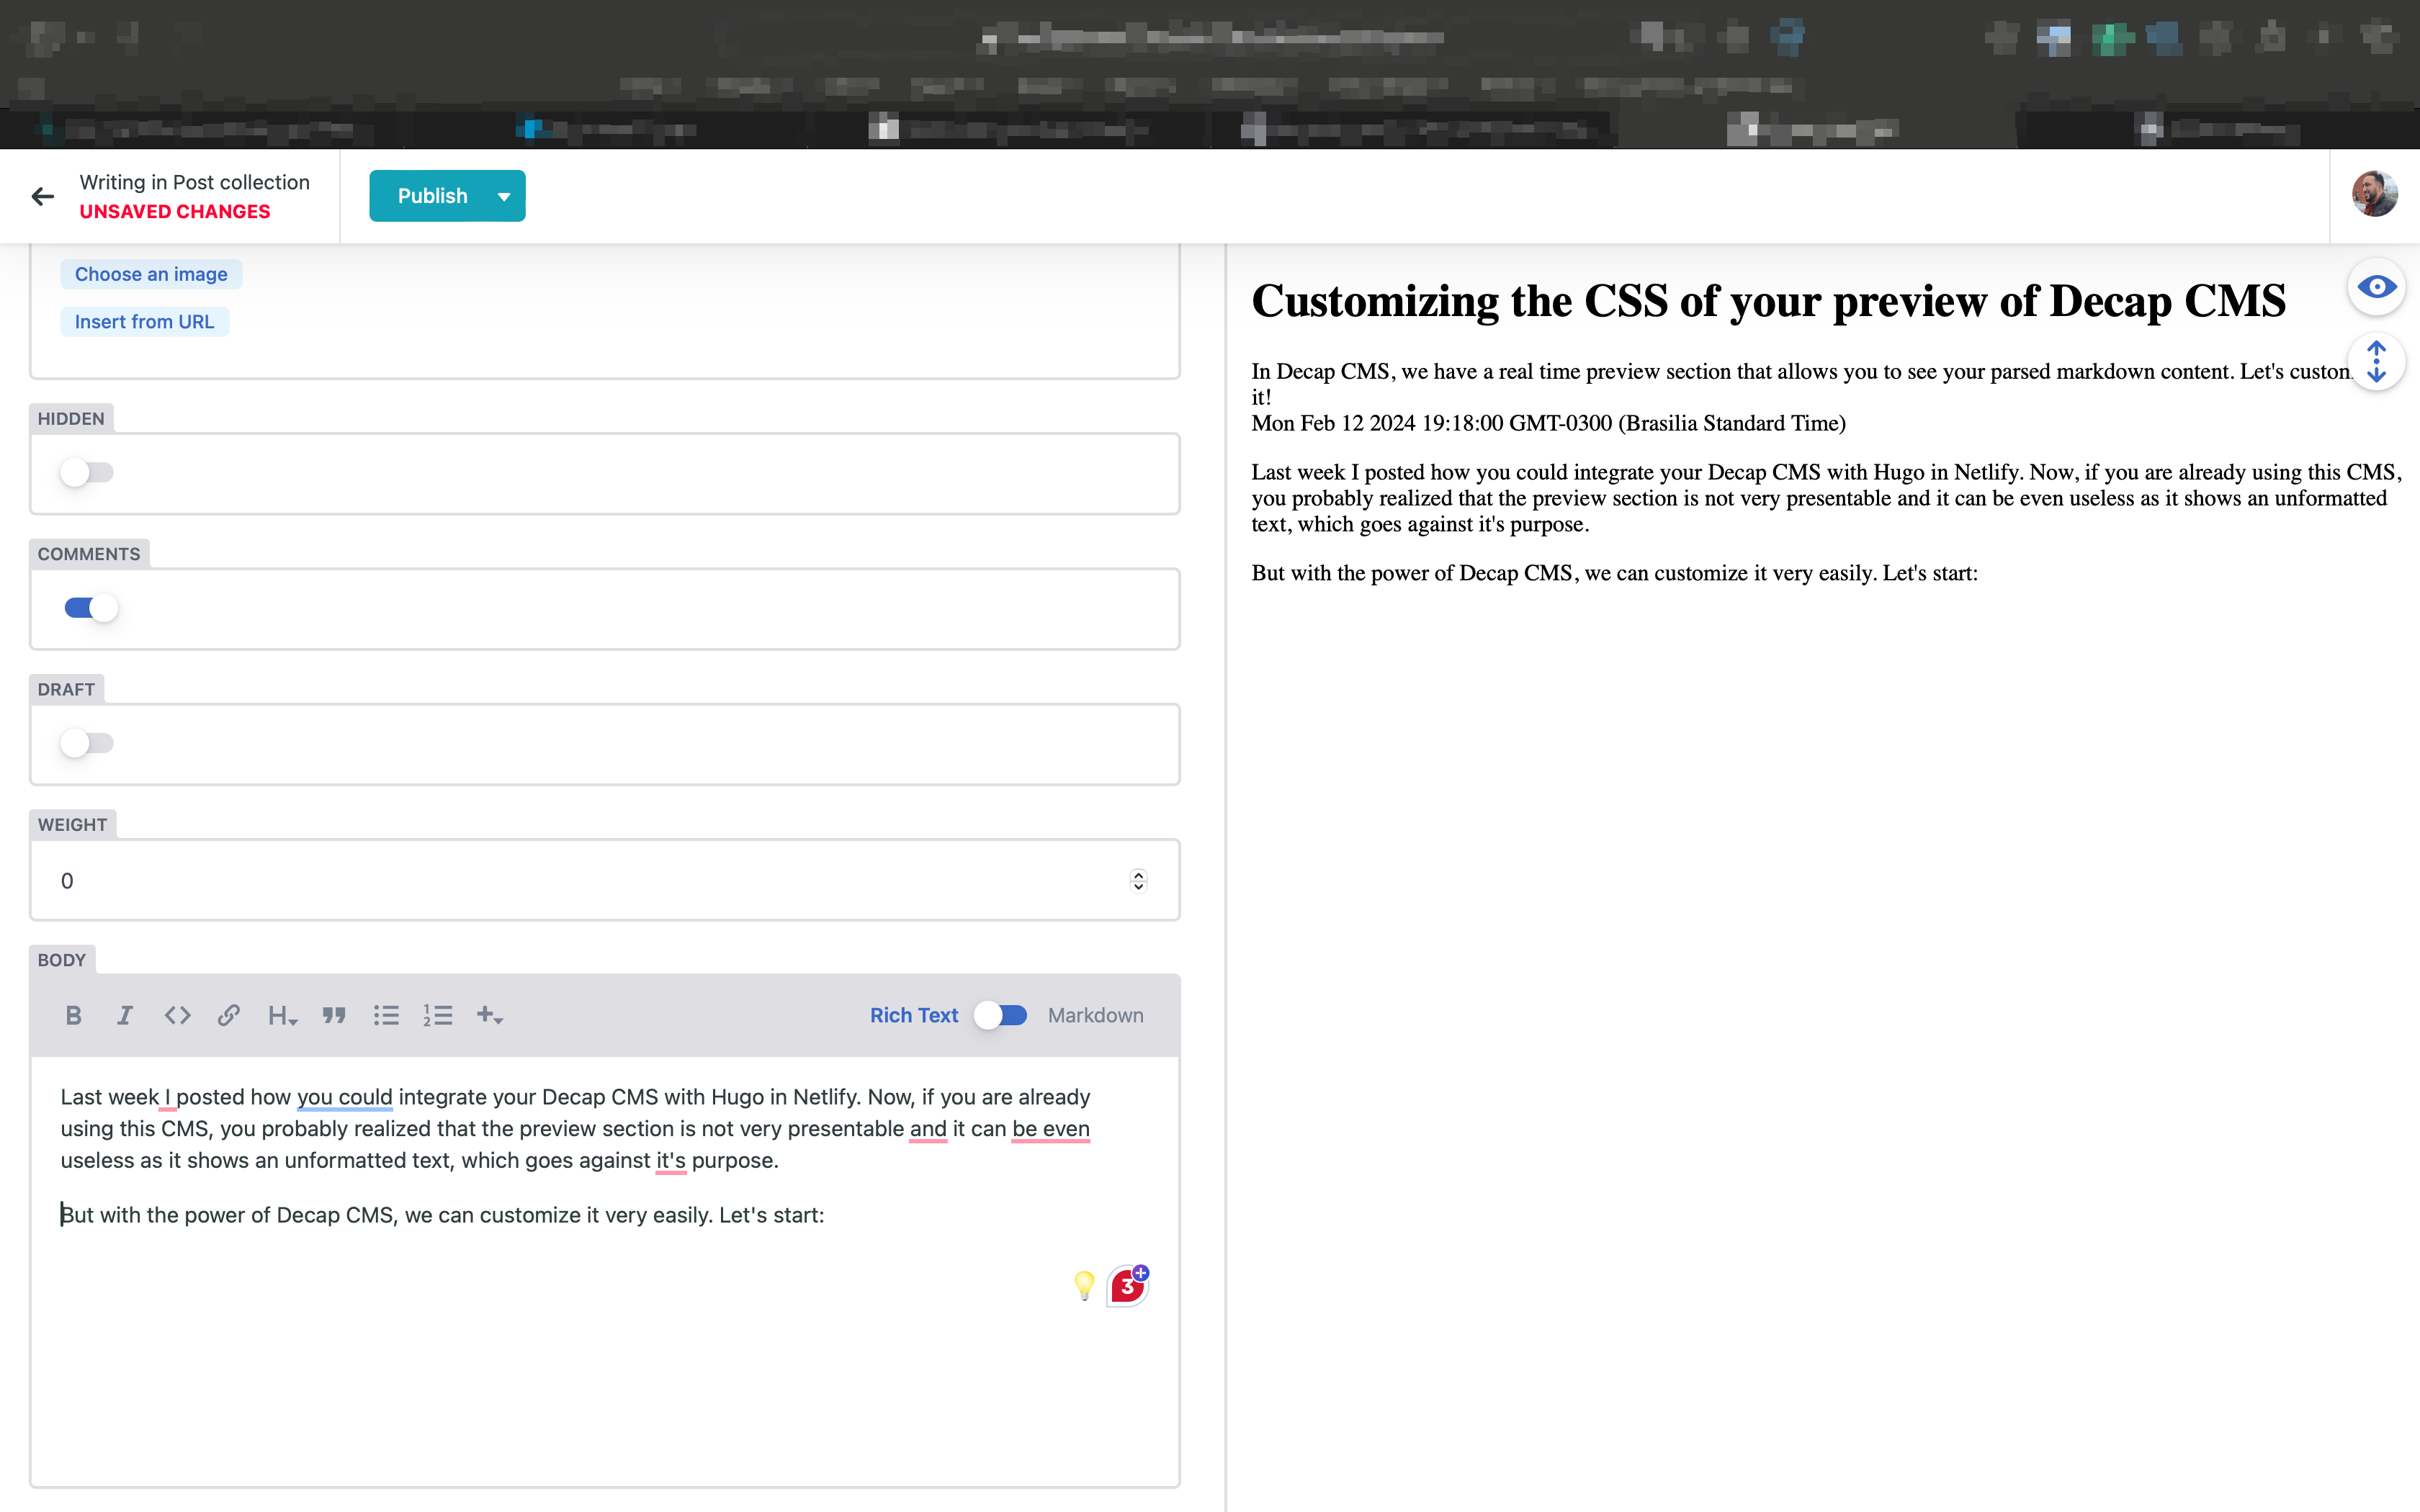
But with the power of Decap CMS, we can customize it very easily. Let’s do it:
1. Create a styles.css in your public folder
File location
Let’s create a file in the public folder of your site.
Hugo
If you are using Hugo, the file needs to be located in static/admin/styles.css
Gatsby
If you are using Gatsby, the file needs to be located in static/admin/styles.css
Jekyll
If you are using Jekyll, the file needs to be located in assets/admin/styles.css
Content of the file
This file only has a few basic lines of styling. But it’s enough to fix our CMS formatting.
.frame-content {
  font-family: Arial, Helvetica, sans-serif;
  line-height: 1.9rem;
}
.frame-content img {
  max-width: 100%;
}
It only changes the font family of the preview, adds a line-height just to make the lines a bit more spaced, and adds a max-width of 100% for each image so that they don’t trespass the container of the preview section.
Today our view is similar to this:

2. Modify your index.html to use the new styles.css
Now that we have our file, we just need to call it. Your index.html of your Decap CMS may be looking like this:
<!doctype html>
<html>
<head>
  <meta charset="utf-8" />
  <meta name="viewport" content="width=device-width, initial-scale=1.0" />
  <meta name="robots" content="noindex" />
  <title>Content Manager</title>
</head>
<body>
  <!-- Include the script that builds the page and powers Decap CMS -->
  <script src="https://unpkg.com/decap-cms@^3.0.0/dist/decap-cms.js"></script>
</body>
</html>
Below the script tag, before the </body>, you can add the following:
CMS.registerPreviewStyle("/admin/styles.css");
Your code should look like this:
<!doctype html>
<html>
<head>
  <meta charset="utf-8" />
  <meta name="viewport" content="width=device-width, initial-scale=1.0" />
  <meta name="robots" content="noindex" />
  <title>Content Manager</title>
</head>
<body>
  <!-- Include the script that builds the page and powers Decap CMS -->
  <script src="https://unpkg.com/decap-cms@^3.0.0/dist/decap-cms.js"></script>
  <script>
    CMS.registerPreviewStyle("/admin/styles.css");
  </script>
</body>
</html>
This will load your CSS previously created. You can test it by running your site locally:
Hugo
$ hugo server -D
Gatsby
$ gatsby serve
or
$ yarn gatsby serve
Jekyll
$ jekyll serve
If you just access your site locally, access the /admin and to the login, you will be able to enter into a post and see that now it’s much better formatted.

3. Show only the desired elements
In my view, the preview section is just for you to know how the formatting will get after you publish your article. But you just have to see what really changes. If you are writing in markdown, or even just using the Rich Text editor, you know that there is a possibility that your article break after you publish it just because the reading view is different than the writing view.
But if we talking about the date, you will always have a pretty good idea of how it will be after the article is live. So you don’t need to see this information in real time.
Because of that, I prefer to hide it.
Still in the index.html, let’s create a component that will render only what we want:
<!doctype html>
<html>
<head>
  <meta charset="utf-8" />
  <meta name="viewport" content="width=device-width, initial-scale=1.0" />
  <meta name="robots" content="noindex" />
  <title>Content Manager</title>
</head>
<body>
  <!-- Include the script that builds the page and powers Decap CMS -->
  <script src="https://unpkg.com/decap-cms@^3.0.0/dist/decap-cms.js"></script>
  <script>
    var PostPreview = createClass({
      render: function() {
        var entry = this.props.entry;
        return h('div', {},
          h('h1', {}, entry.getIn(['data', 'title'])),
          h('div', {"className": "text"}, this.props.widgetFor('body'))
        );
      }
    });
    CMS.registerPreviewStyle("/admin/styles.css");
  </script>
</body>
</html>
If you take a look in the PagePreview component, we are just rendering the h1, which is the title, and the div, that grabs information from the body so that we can render the parsed markdown.
And then, we need to register the preview template so that Decap CMS can start to render it, using the following call:
CMS.registerPreviewTemplate("posts", PostPreview);
I’m assuming that your posts collection is called posts. Please, fix it if it’s not.
The code should look like this:
<!doctype html>
<html>
<head>
  <meta charset="utf-8" />
  <meta name="viewport" content="width=device-width, initial-scale=1.0" />
  <meta name="robots" content="noindex" />
  <title>Content Manager</title>
</head>
<body>
  <!-- Include the script that builds the page and powers Decap CMS -->
  <script src="https://unpkg.com/decap-cms@^3.0.0/dist/decap-cms.js"></script>
  <script>
    var PostPreview = createClass({
      render: function() {
        var entry = this.props.entry;
        return h('div', {},
          h('h1', {}, entry.getIn(['data', 'title'])),
          h('div', {"className": "text"}, this.props.widgetFor('body'))
        );
      }
    });
    CMS.registerPreviewTemplate("posts", PostPreview);
    CMS.registerPreviewStyle("/admin/styles.css");
  </script>
</body>
</html>
Save it, and now you should only see what you desire!

That’s it!
Let me know what else would you like to see how can we customize.
Comments