Previously, I used a MacBook i5 2017 for programming, and one of the main challenges was its limited 128GB storage. Back then, my data was stored in the cloud, and both my personal and company projects were versioned and saved on GitHub or GitLab. This setup would have been ideal if I worked with only one technology. I engaged in projects using Ruby on Rails, NodeJS, Python with Django or Flask, and React, among others. All these technologies shared a common issue: the storage of libraries from each package manager.
Suppose that one day I need to do a project that uses React, I will need to save and manage my packages with npm. My JavaScript version should be managed with nvm. And this is just talking about front end. Moving to the back end, I would like to use Ruby On Rails. My package manager would be bundler, and the Ruby version manager would be rvm. In a short time, we can reach this “ceiling” of 128gb.
Given so many existing solutions, such as using an EC2 instance on AWS to handle these projects, or even something like Cloud 9, I decided to follow the cheapest and most practical path (for me, of course).
Installing Docker
I have been working with Docker for a while now, as it is currently how I set up my systems and those at CodeBy, so I will show how to perform the installation to make this post more complete.
Installing Docker on Mac
Installing Docker on Mac is pretty straightforward, to be honest. You just need to download it from Docker Hub.
https://hub.docker.com/editions/community/docker-ce-desktop-mac/
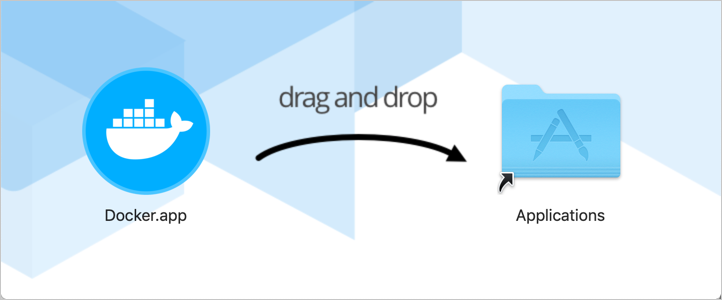
And follow the famous process of dragging and dropping the app icon to your Mac OS applications folder.
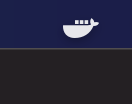
And by opening the application, the Docker icon will appear in the taskbar.
Pretty easy, right?
Installing Docker on Windows
I’m not a big fan of Windows, but I have to admit that the installation process on it is as easy as on Mac. Just download Docker Desktop from Docker Hub https://hub.docker.com/editions/community/docker-ce-desktop-windows/ and run the executable. Follow the installer’s instructions and, according to Docker’s documentation, make sure the “Enable Hyper-V Windows Features” option is checked (honestly, I don’t know what this option does).
If your administrator account is different from your user account, you must add the user to the docker-users group. Run Computer Management as administrator and navigate to Local Users and Groups > Groups > docker-users. Right-click to add the user to the group. Log out and log in again for the changes to take effect.
Installing Docker on Linux (Ubuntu)
Here I will show the installation on Ubuntu as I have always used Debian-based distros in my Linux time, but on the Docker website you can find the installation process for other distros, all being very similar.
Unlike Mac and Windows, here you do not install Docker Desktop. What you install is just the Docker engine. In the end, the result is the same, the main difference is that Docker Desktop has an interface for resource management.
According to Docker’s website, you should uninstall all old versions of Docker before installing the latest version through the terminal. Although I assume you do not yet have Docker installed on your system, just run the following command to carry out this process.
$ sudo apt-get remove docker docker-engine docker.io containerd runc
The easiest way to install Docker on Linux is using the script that automates the entire download process, adds repos to your Linux for automatic updates, and the actual installation.
To download and run the script, use the following command.
$ curl -fsSL https://get.docker.com -o get-docker.sh
$ sudo sh get-docker.sh
And to avoid having to use sudo for every Docker command, add your user to the docker user group.
$ sudo usermod -aG docker <your-username>
There are other processes for installing Docker on Linux, but this is currently the easiest.
Setting Up Our Development Environment
One of the tools that really revolutionized the world of devs is VSCode. As with everything we use to develop in different technologies, there is a plugin for what we want to do.
The main idea here is to make a container for each project. That is, if we are going to do a React project, we should create a container with an image based on Node. And if we are going to do a Ruby on Rails project, our container will be based on Ruby.
I will give more details on how this works in practice in a bit, but first, let’s just install the extension that orchestrates this magic.
Remote - Containers
“Remote - Containers” is an extension developed by Microsoft itself, which makes it even more amazing.
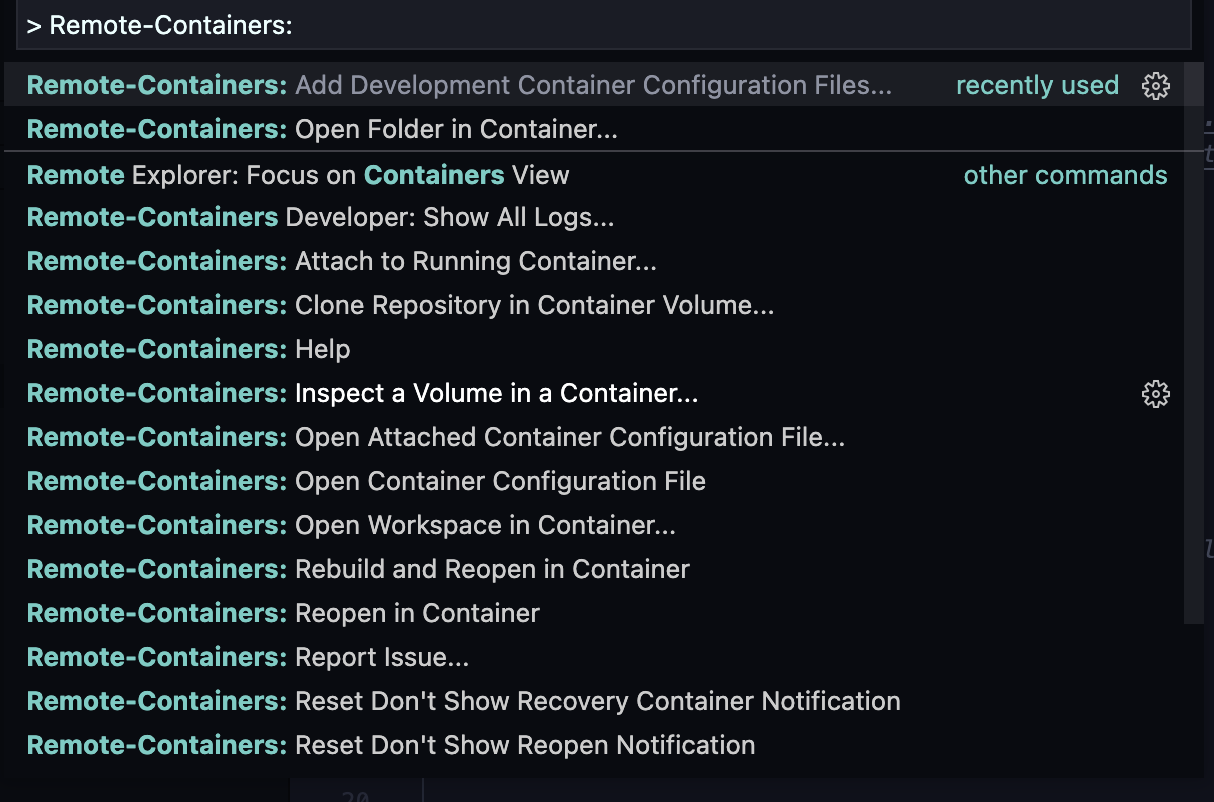
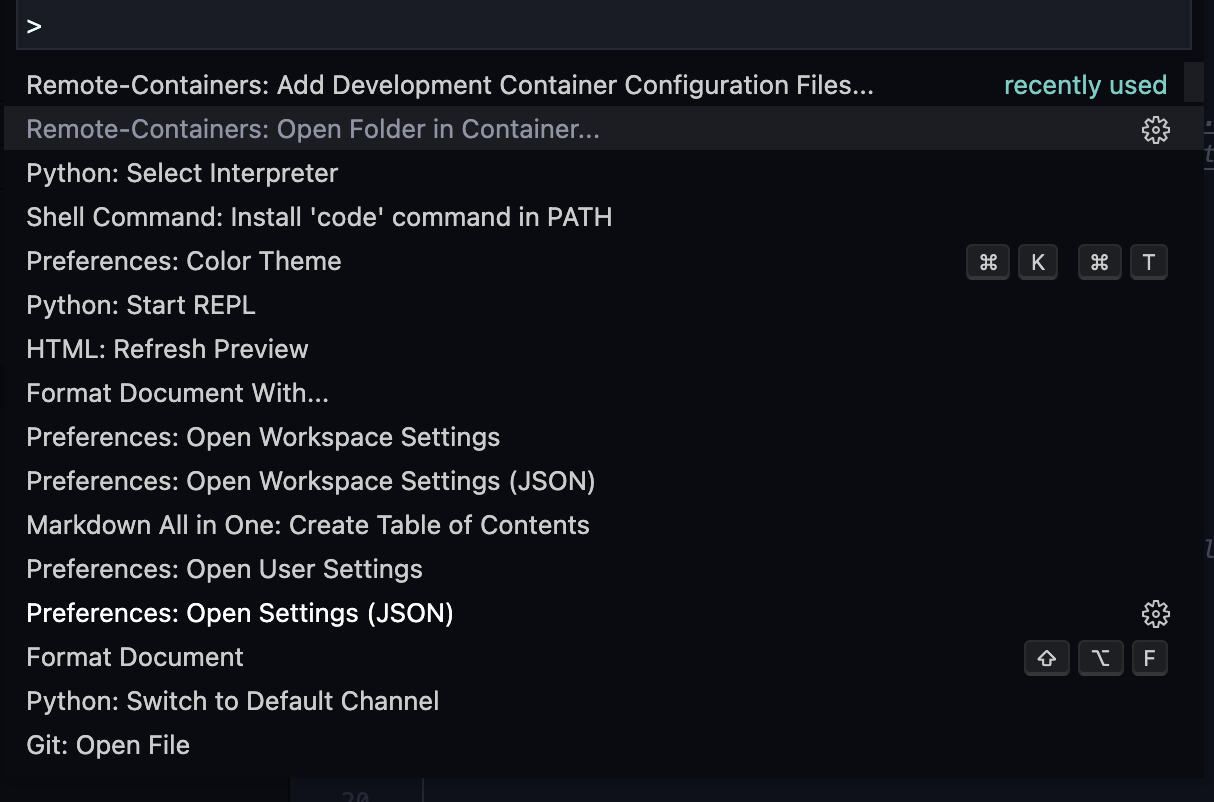
The flow to use it is simple: after installing it, type cmd + shift + P (or ctrl + shift + P), and search for Remote-Containers.
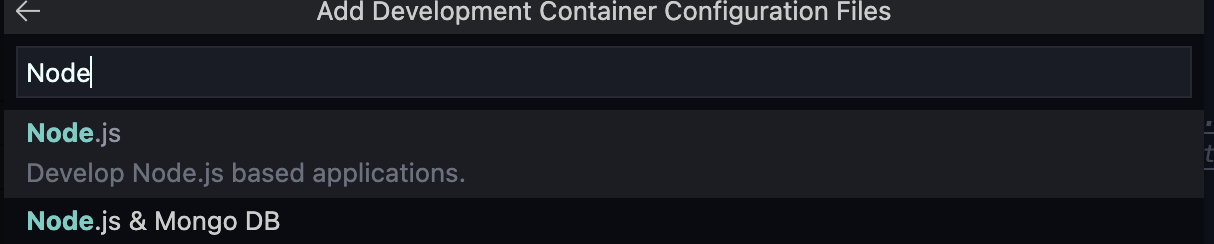
In this search, you will have many interesting options. The first one you should use is “Add Development Container Configuration Files…”
Once selected, a list of options will open to select the technology on which your container will be based. Normally, the main technology found in your project based on your code should
already appear first, but if it is not correct, click on “Show all definitions” at the end of the list and search for the desired technology.
Once you select the technology, three files will be created inside a folder called .devcontainer. These files are instructions indicating how Docker should handle the installation and management of technologies and how it should run your application. In general, they are basic installation instructions for the technology in question.

Next, the next command to be executed should be “Open folder in container”.
Basically, this command will run your project in a Docker container, which allows us to install the desired libraries, configure our environment completely isolated, and finally, clean it up so as not to take up much memory in our system.
When selecting the option above, Docker will download the Docker Hub base image, build the container based on the Dockerfile in the .devcontainer folder, and finally run it. This takes a few minutes on the first run. But that’s the process!
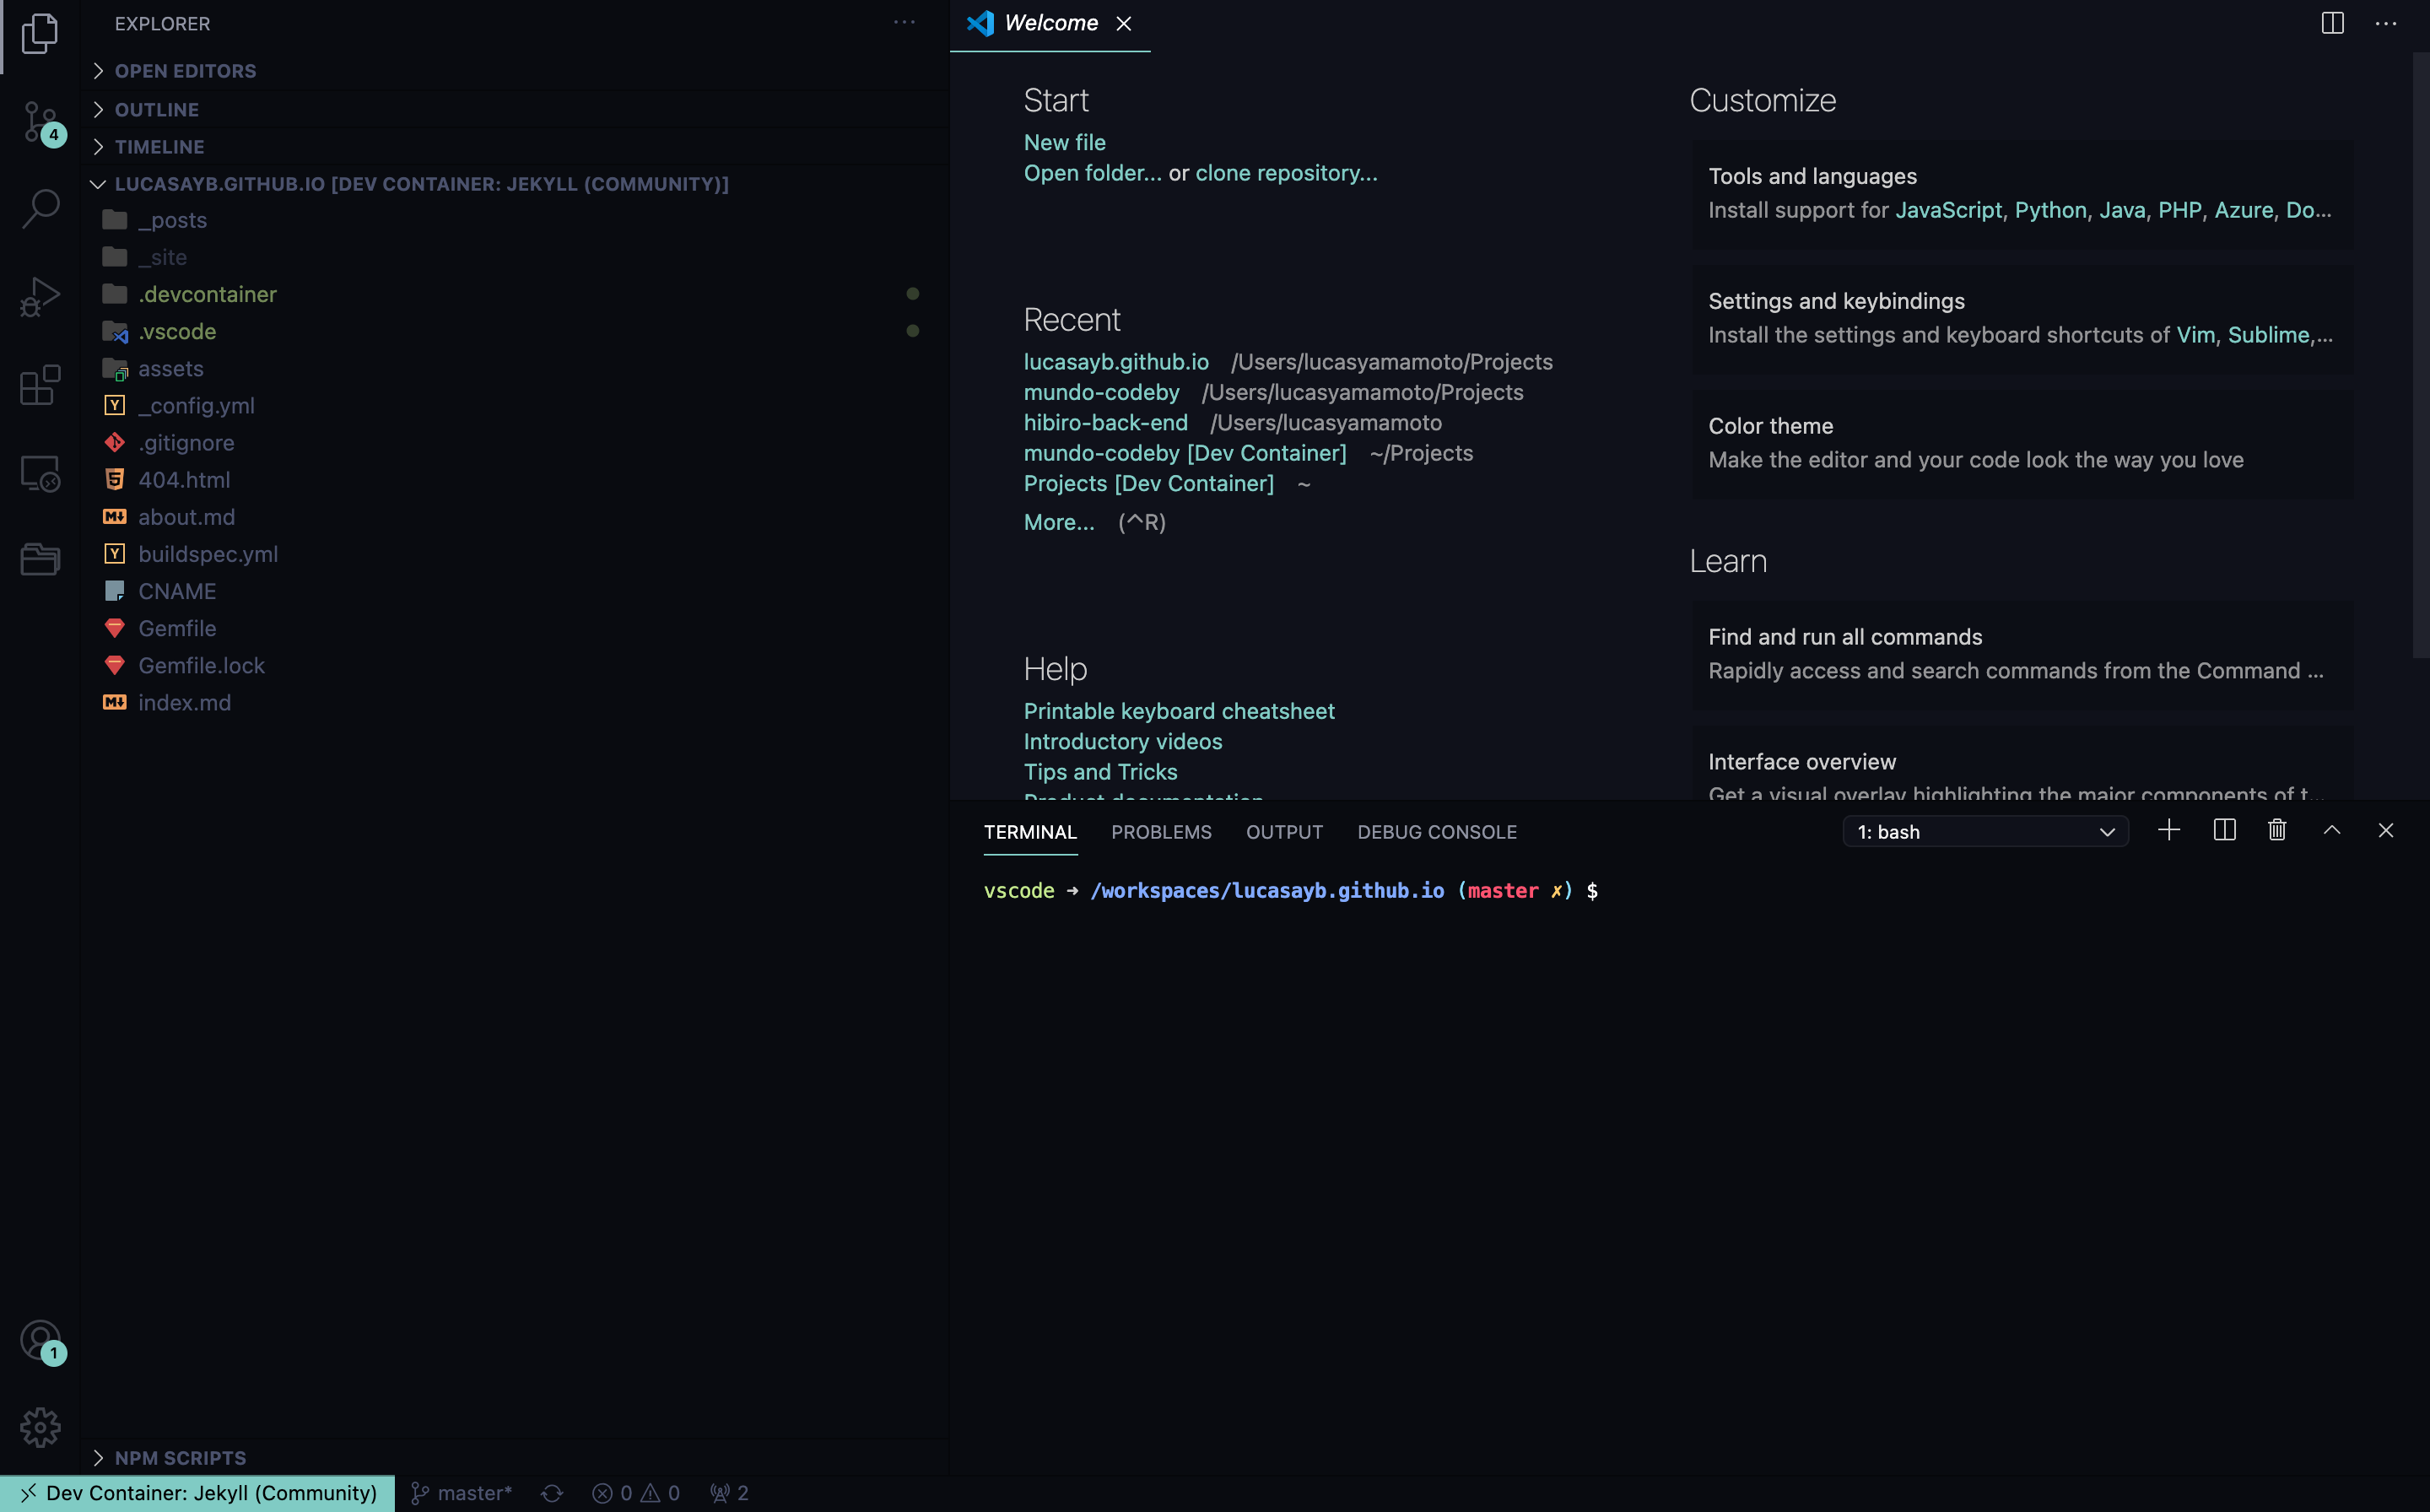
With the environment set up, you should have access to the container’s terminal and everything will work the way you are used to!
And in the end, if you want to clean up your old Docker containers, just run the following command in the terminal outside of any container:
$ docker system prune
This way, you ensure that containers that are not currently running will be cleaned up!
Although Docker itself already takes up quite a bit of space on my Mac, it helps me have greater control and know how much I’m actually using. And by the way, it makes the process very practical for each project!
Comments